Overview
With the GDPR regulations, prior consent needs to be implemented for all scripts. However, most tag managers, including GTM, do not have any mechanism to request consent from the site users. So, they do not know when it is acceptable to add the tracking technologies to the web page.
UCP is constructed to provide several mechanisms for communicating prior consent to you and the tag managers you use.
The following outlines the 2 mechanisms which can be used to enable prior consent for the Google Tag Manager platform.
Mechanism 1: Custom Event Trigger
GTM provides a significant degree of flexibility and control over how technologies are deployed to your web pages. One of these mechanisms is a custom event trigger. Custom event triggers allow GTM customers to create their own load triggers, beyond the ones GTM provides natively.
We have set our scripts so they will execute a custom trigger event on consent. Below are the steps to set up that custom trigger and add it to GTM.
|
Use this if you are using GTM to deploy all your non-essential technologies consistently across your sites. That is the best-case scenario and will make this deployment easier. If not, look at our second mechanism listed below. |
GTM Prior Consent Setup Instructions
Step 1: Create the prior consent trigger
1. Open tag manager workspace
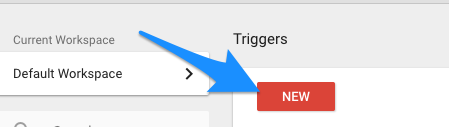
2. Navigate to Triggers configuration
3. Click New button to create a new trigger
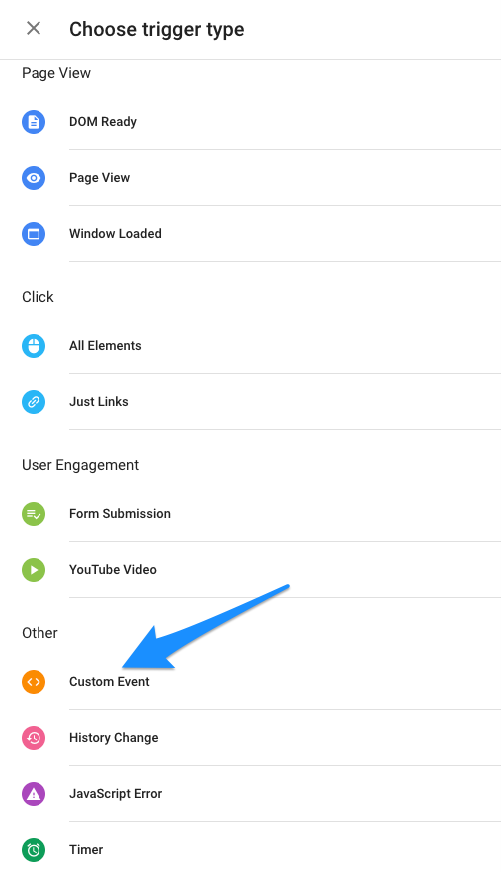
4. Select the Custom Event trigger type
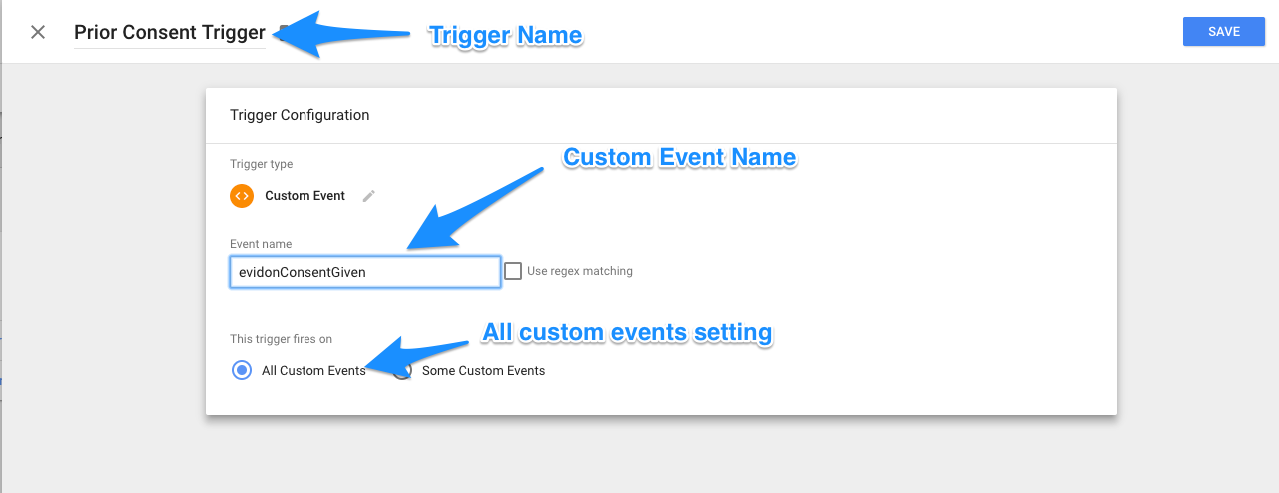
5. Modify the name so you can identify the trigger more easily. We suggest “Prior Consent Trigger”, but it is up to you
6. Set the Event Name to evidonConsentGiven
7. Set the trigger to fire on All Custom Events
8. Save the new consent trigger.
Step 2: Modify all tags requiring prior consent to use the new trigger
1. Identify all tags/scripts which need to wait for user consent before they execute.
2. Open the tag list
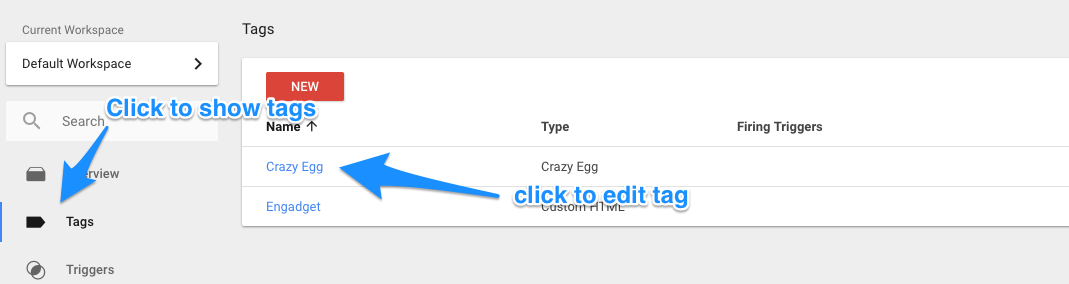
3. Click each script to set the trigger
4. In the Triggering section highlight to bring up the Edit pencil
5. Click the pencil to edit
6. Remove any trigger which would cause the tag to fire before consent is given
7. Click the add button (+)
8. Choose the new prior consent trigger from the trigger list
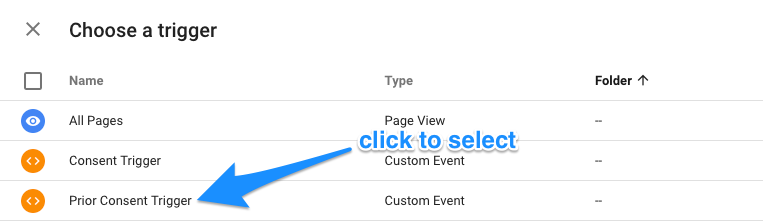
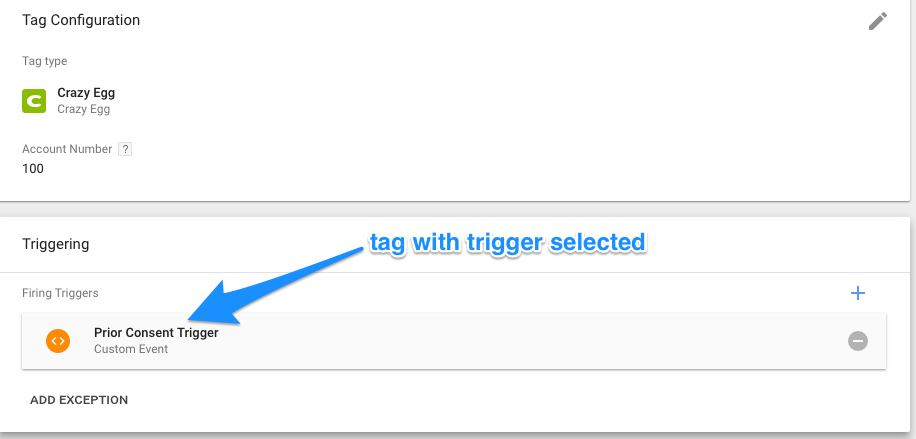
9. Save your changes.
Step 3: Publish Tag
After you have made all the necessary changes publish your new tag manager settings so they are live.
Mechanism 2: Use our Prior Consent Callback to execute your GTM tag
Our script block comes with a built-in callback function which is triggered when non-essential technologies are intended to execute - window.evidon.priorConsentCallback. You can use this script callback to trigger your GTM to load.
This function will execute under the following conditions:
- The user consents to allowing technologies by performing a consent action.
- The user visiting the site is a return visitor who has given consent.
- Consent is not required for the current user. Perhaps they are not from the EU, for example.
If you are using GTM to deploy essential technologies this is not a good mechanism to use because it will prevent the GTM script from executing in its entirety. You will need to either use our custom event mechanism (listed above) or refactor your essential technologies out of GTM so they load. |
Follow these steps to set up our script callback to load your GTM tag on consent:
Instructions
Our recommendation is you reformat your GTM tag slightly to make this mechanism more reliable and easier to trigger through script execution.
This is what a default GTM tag looks like:
<script>
(function(w,d,s,l,i){w[l]=w[l]||[];w[l].push({'gtm.start':
new Date().getTime(),event:'gtm.js'});var f=d.getElementsByTagName(s)[0],
j=d.createElement(s),dl=l!='dataLayer'?'&l='+l:'';j.async=true;j.src=
'https://www.googletagmanager.com/gtm.js?id='+i+dl;f.parentNode.insertBefore(j,f);
})(window,document,'script','dataLayer','GTM-XXXXXX’);
</script>
That tag is designed to execute the moment it is written to the page. That is not what we want when implementing prior consent. Instead we suggest you reformat the tag as so:
function gtm(w,d,s,l,i){
w[l]=w[l]||[];w[l].push({'gtm.start':new Date().getTime(),event:'gtm.js'});
var f=d.getElementsByTagName(s)[0],
j=d.createElement(s),dl=l!='dataLayer'?'&l='+l:'';j.async=true;j.src=
'https://www.googletagmanager.com/gtm.js?id='+i+dl;
f.parentNode.insertBefore(j,f);
}
That converts the GTM tag from a script that executes immediately to a typical javascript function. Once consent is executed you will trigger GTM to load by making the following call:
gtm(window,document,'script','dataLayer','GTM-XXXXX);
You can place both pieces of JavaScript code into our prior consent callback -
window.evidon.priorConsentCallback