Overview
A Dynamic Content page has been added to the Testing and Targeting section of the CMS. The Dynamic Content page allows you to create, edit and manipulate your Web Content Optimizer (WCO) Snippets. In addition to the Snippets, you can manipulate your Collections. The new user interfaces make working with Snippets much easier in the CMS.
A snippet is a piece of code which is used by WCO. The snippet is the backbone to creating a testing/targeting piece on your webpage. Within a snippet you can:
-- Insert a form
-- Insert a conversion link
-- Offer slightly different content based on a target - such as the web visitor's location
-- Change the text or image based off a testing variant
The main Dynamic Content page can be accessed from Settings -> Test & Targeting -> Dynamic Content. The main page allows you to either work with an existing snippet or create a new one.
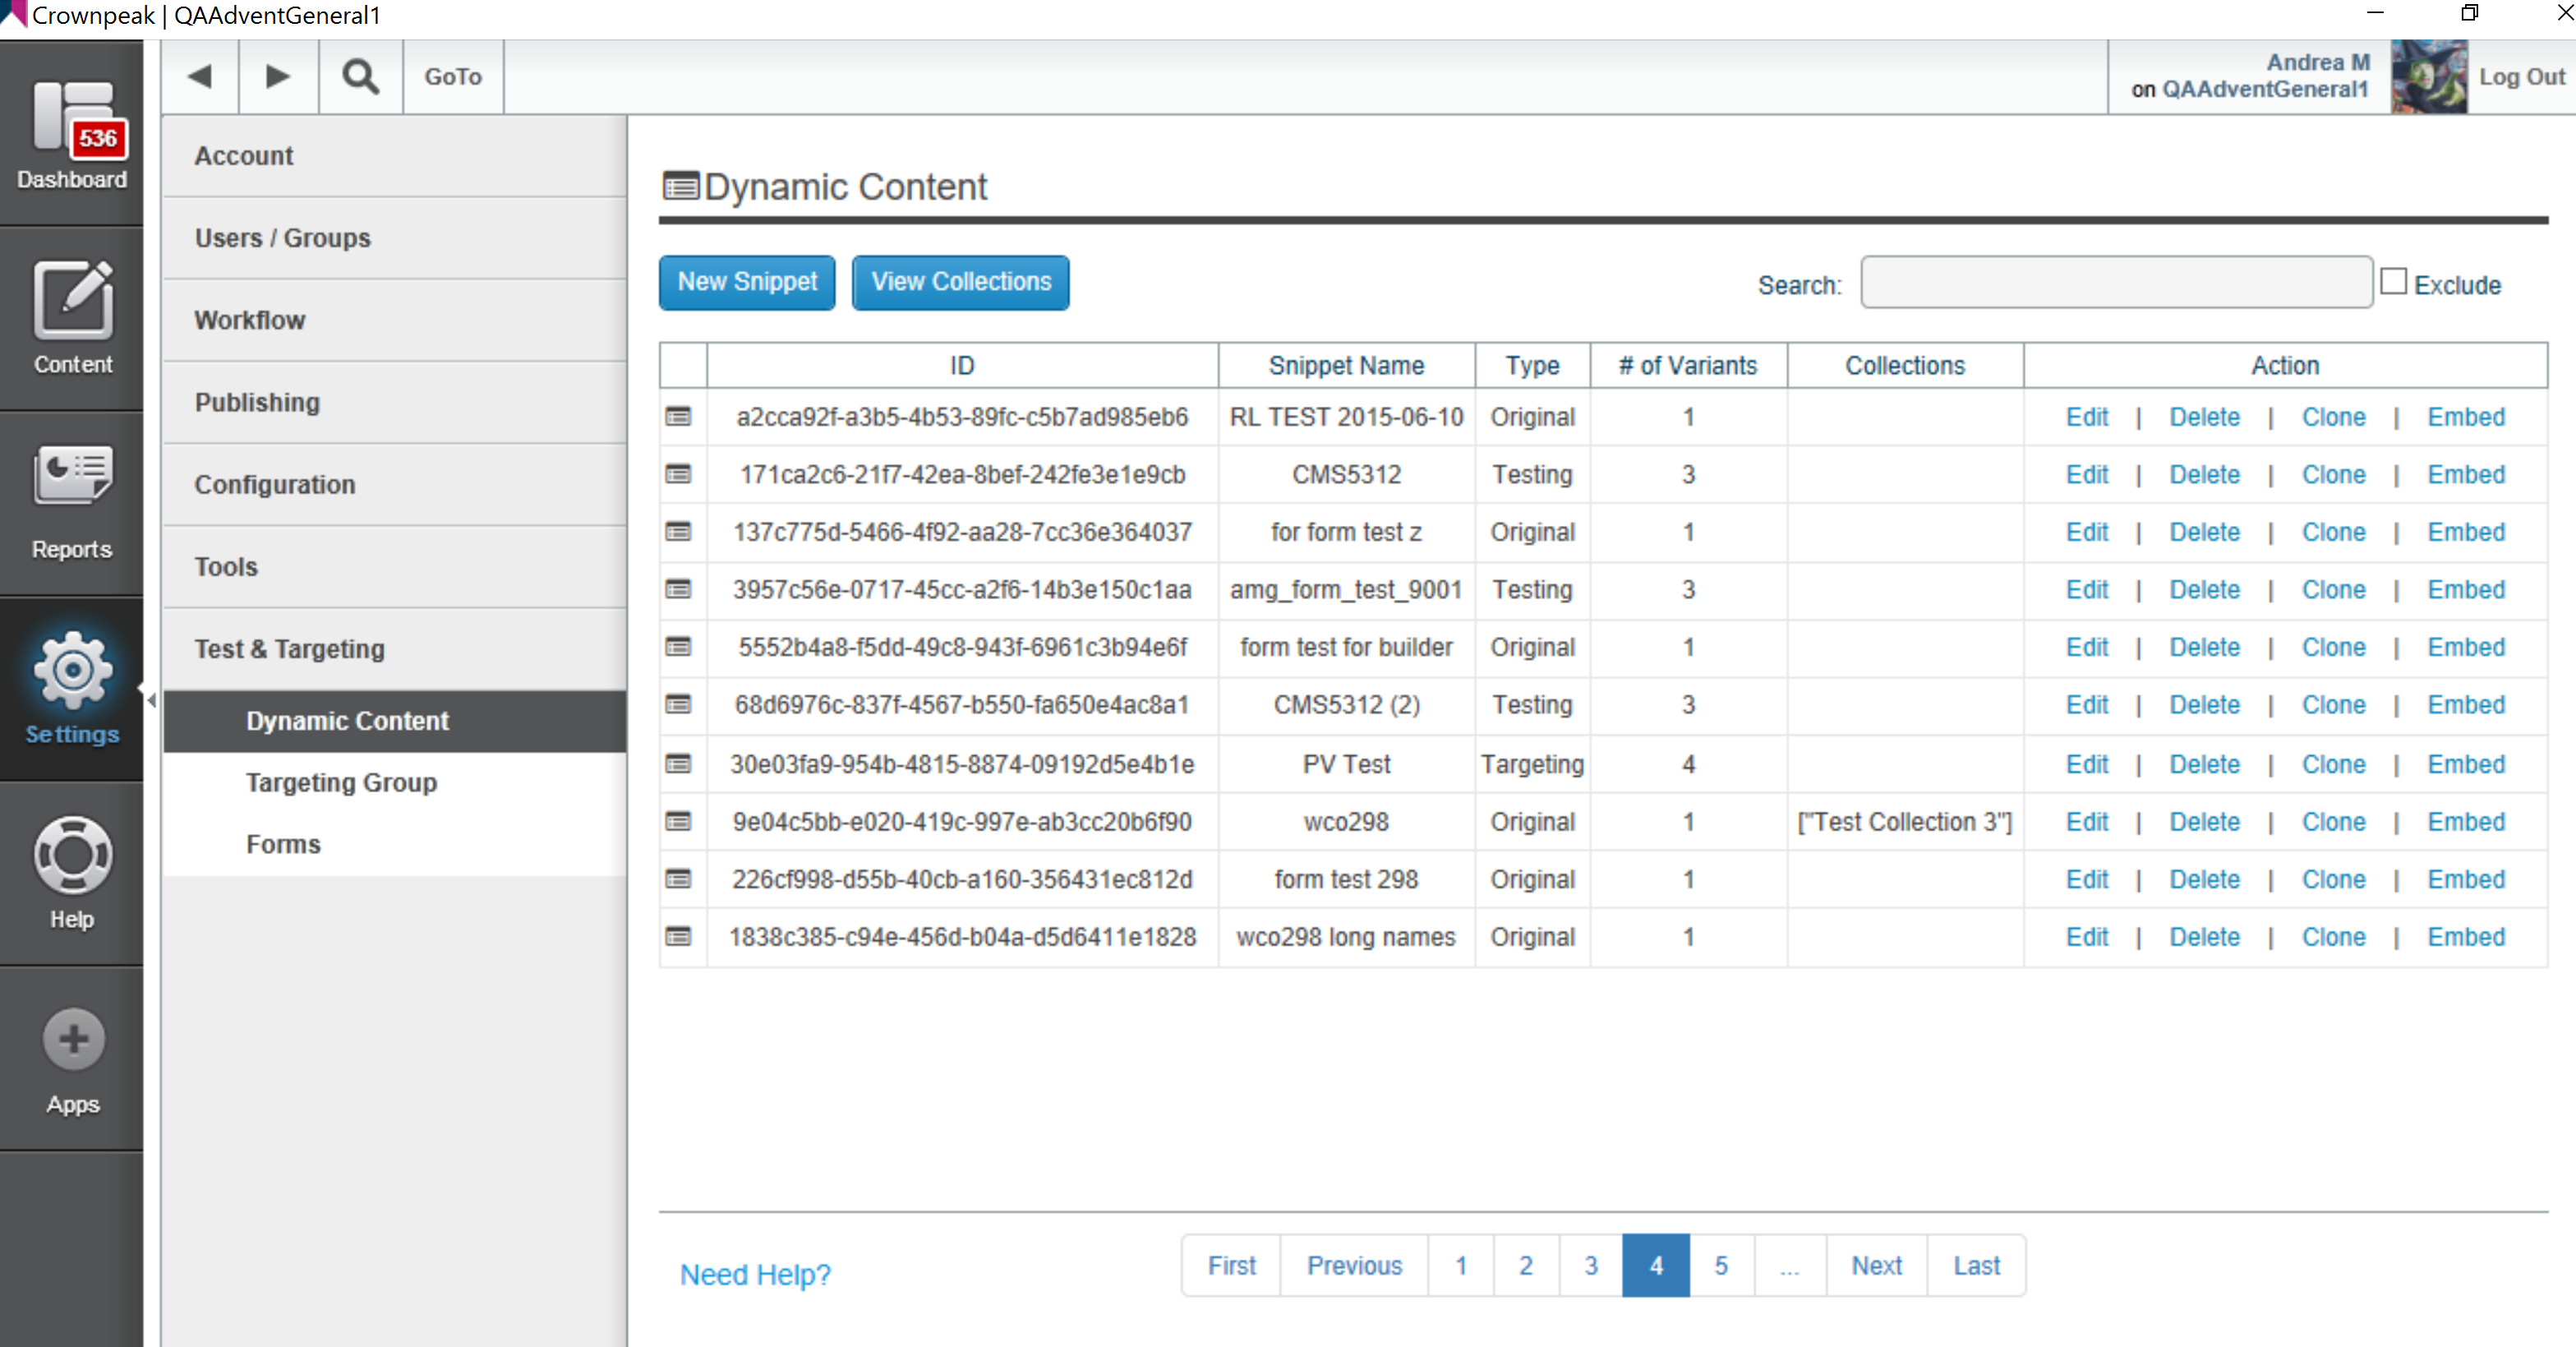
Figure 1 – Dynamic Content - Main Page
Creating a Snippet
To create a snippet use the following instructions:
- Click the New Snippet button
- Enter a [Name] for your snippet
- Select any of the options you wish to use for your testing or targeting:
- Add a Testing or Targeting Variant
- Insert a Conversion Link
- Insert a Form
- Insert a Redirect
- Once you have made your updates, select [Commit Changes]
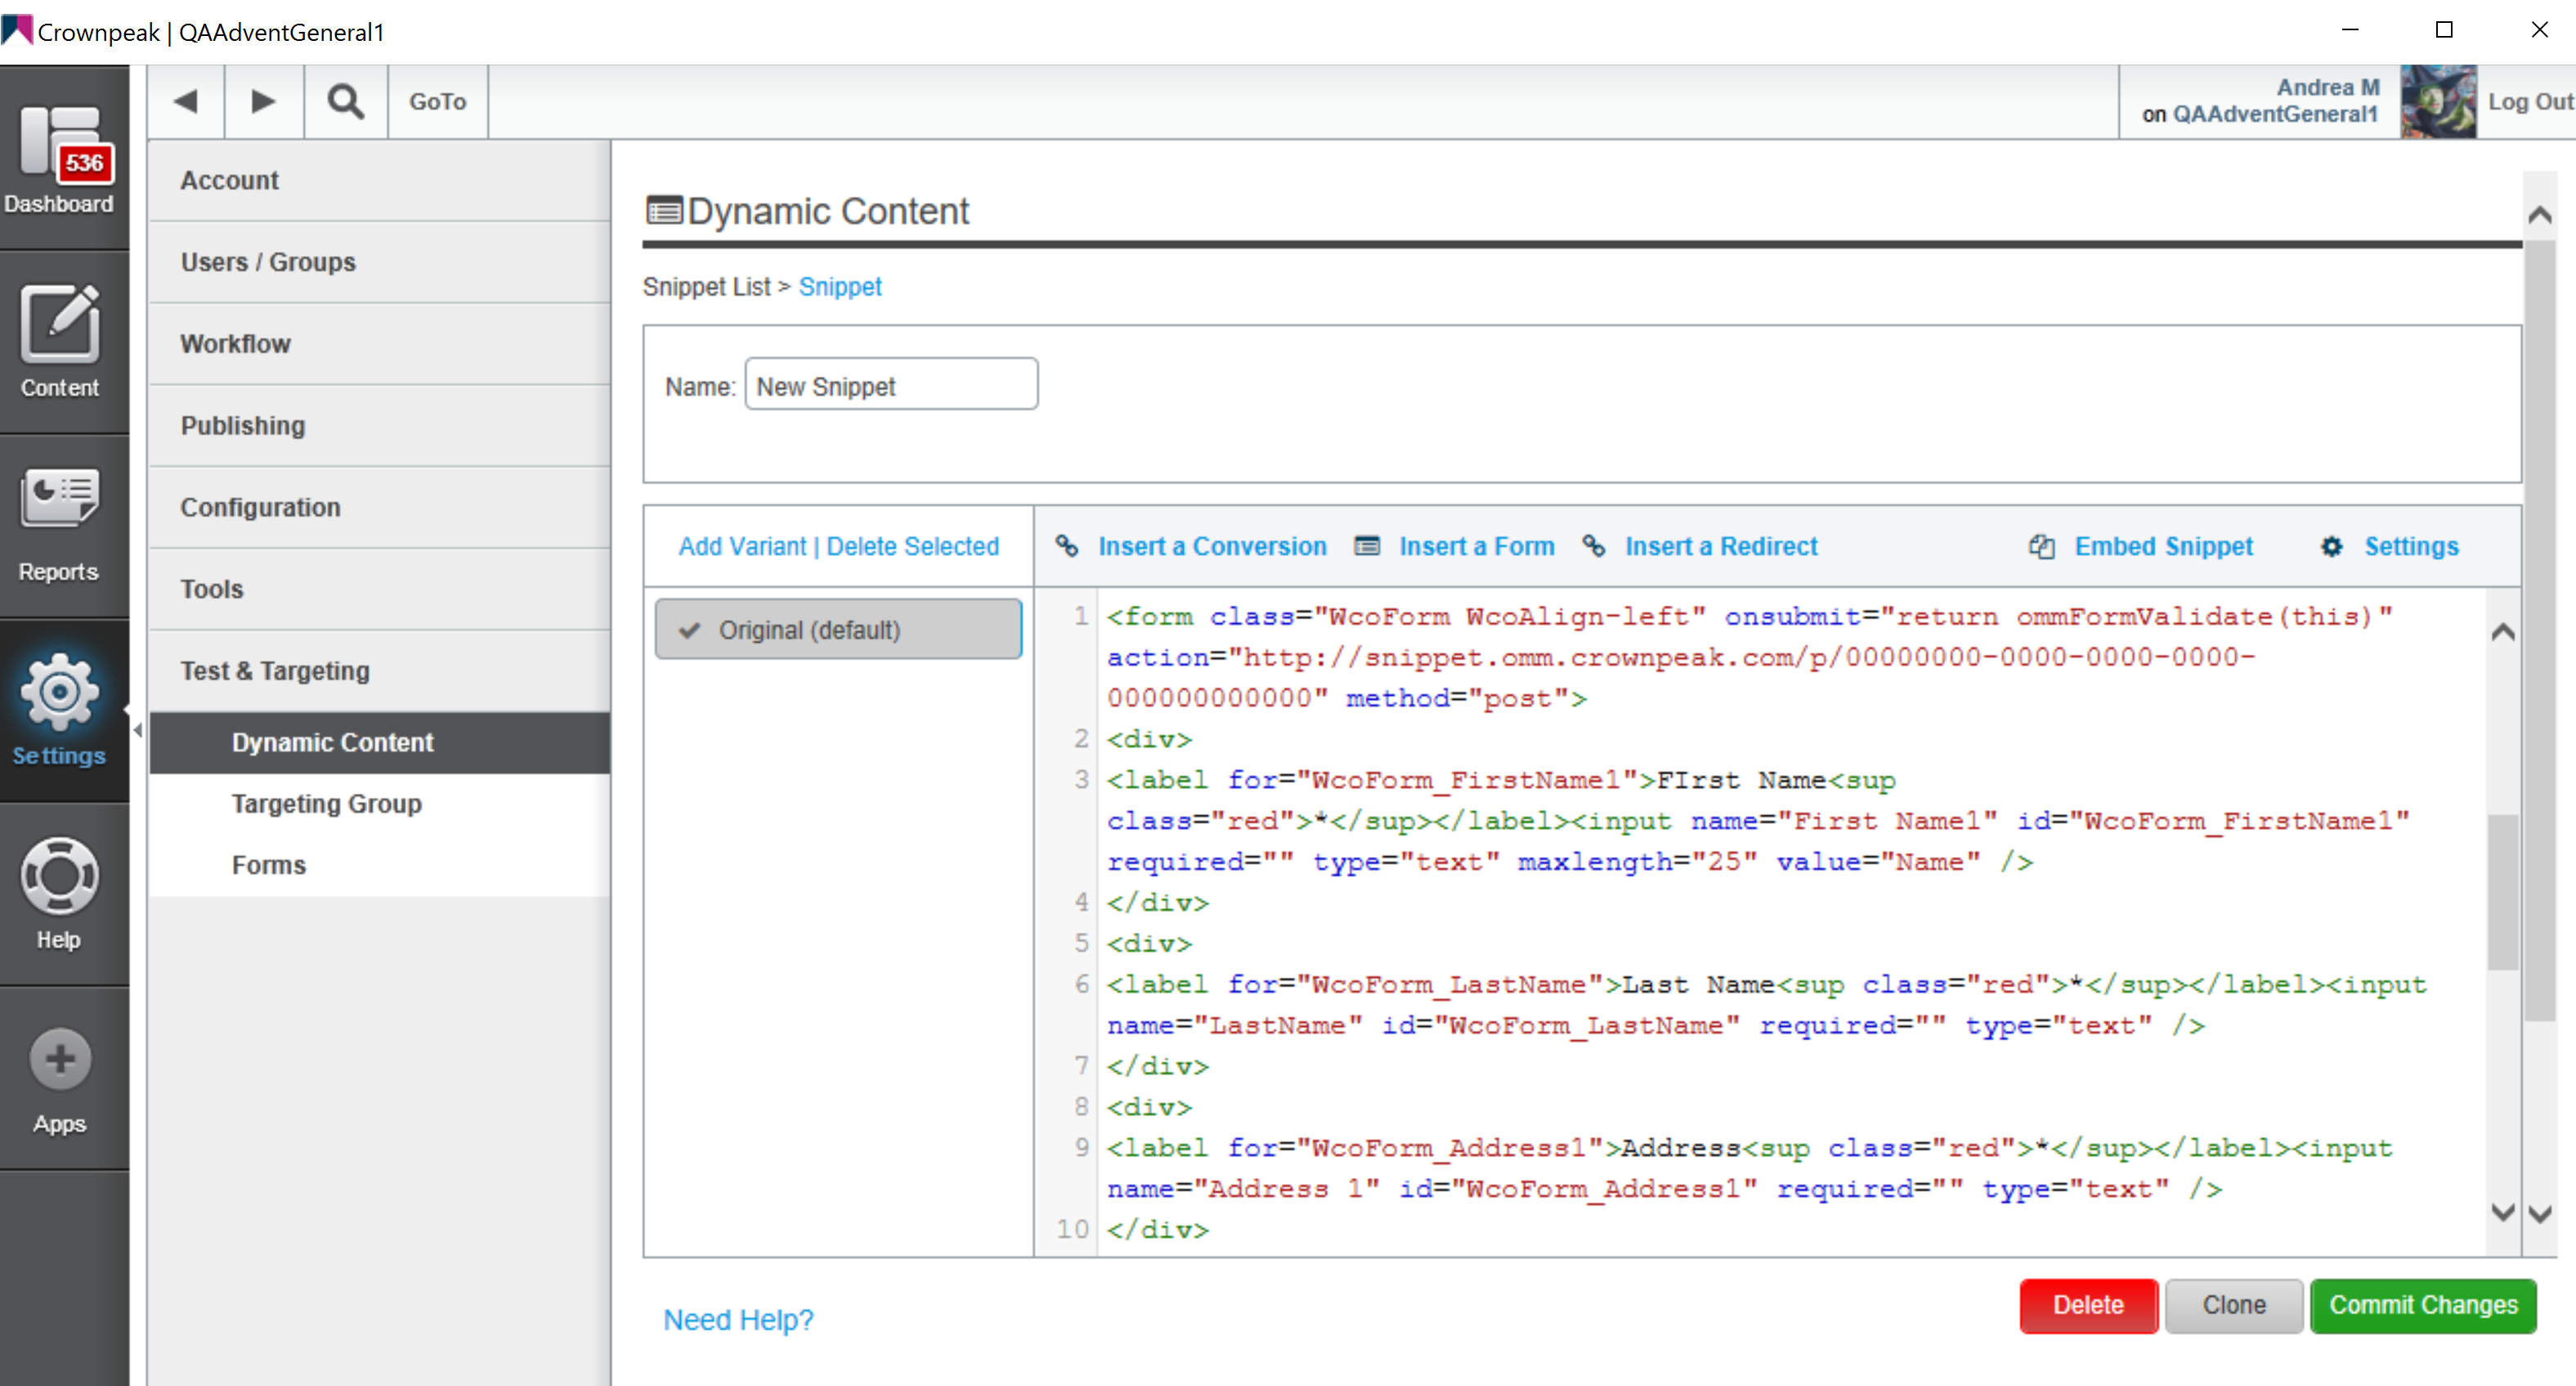
Figure 2 – Dynamic Content - Snippet Editing
Collections
Collections are a group of snippets. You may want to group snippets for targeting purposes or to funnel a web visitor to a specific item, such as a white paper.
- To Create or Edit a Collection first select the [View Collections] button from the main Dynamic Content page (figure 3).
- Then either select the [New Collection] button or select [Edit] next to an existing Collection.
- On the Collection screen, use the (+) or (-) to add or remove snippets from the Collection (figure 4).
- When the correct snippets are in your Collection, then use the [Commit Changes] button to save your updates.
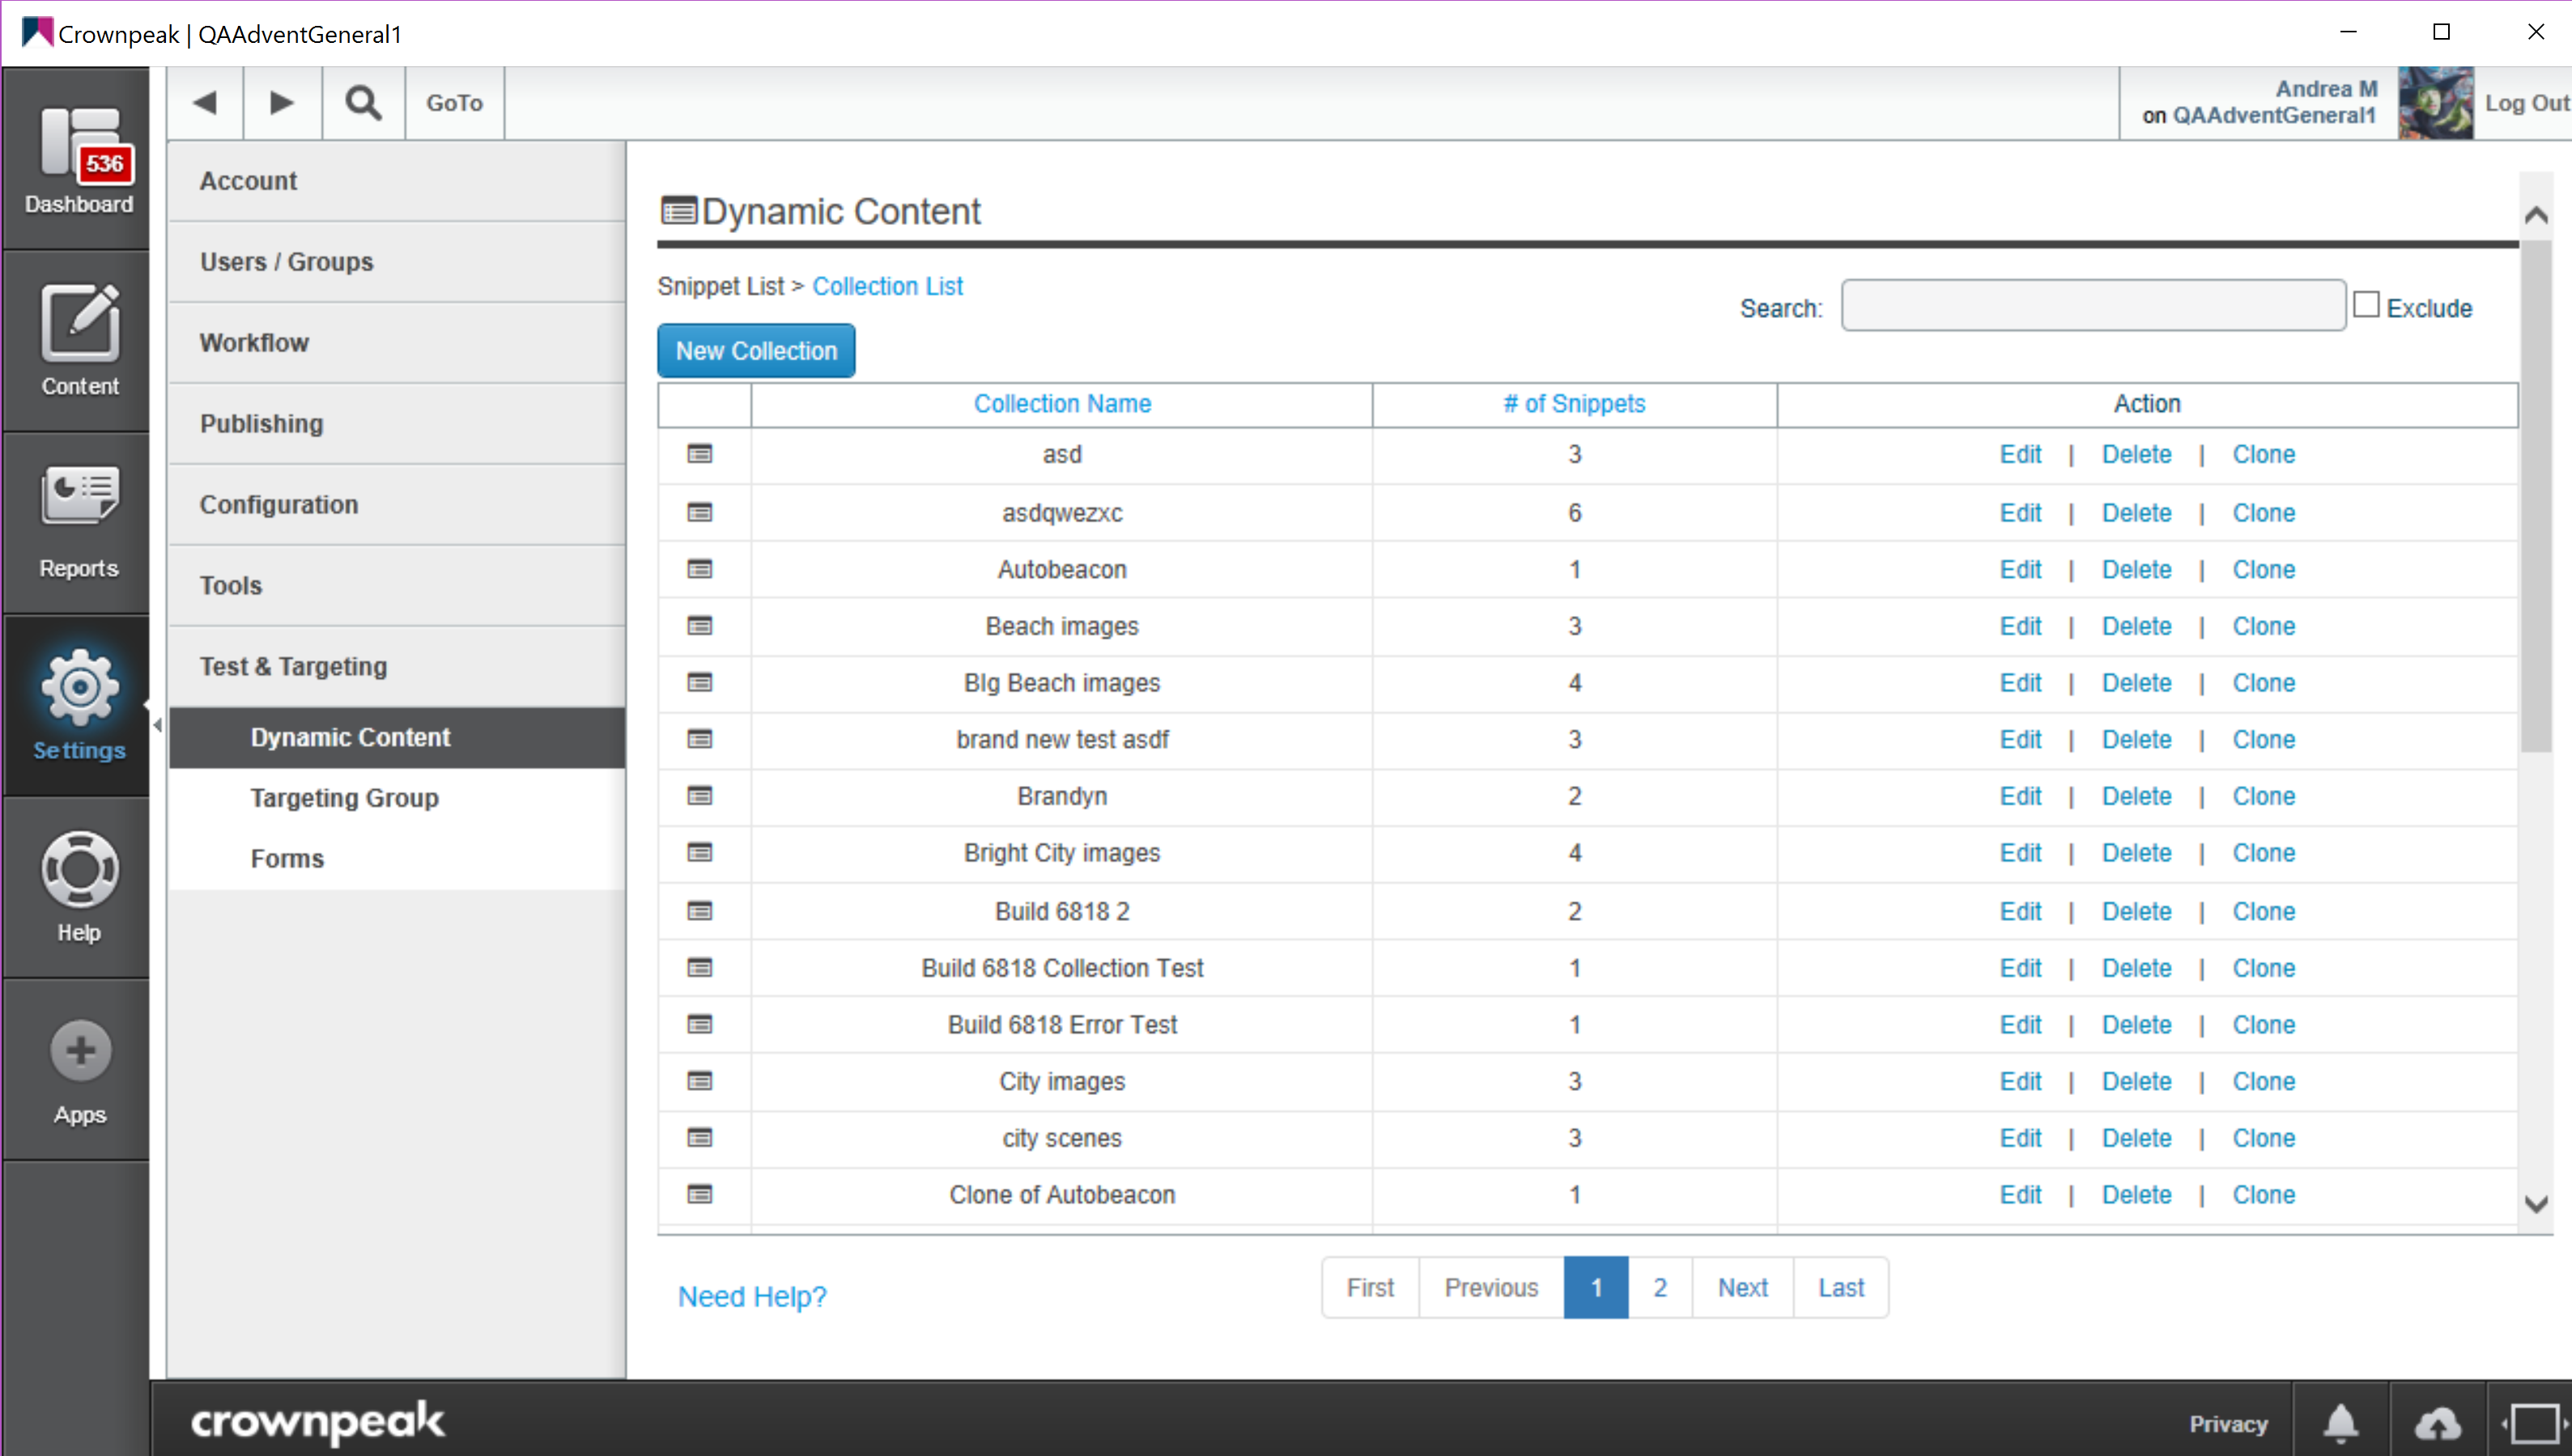
Figure 3 - Main Collection Page
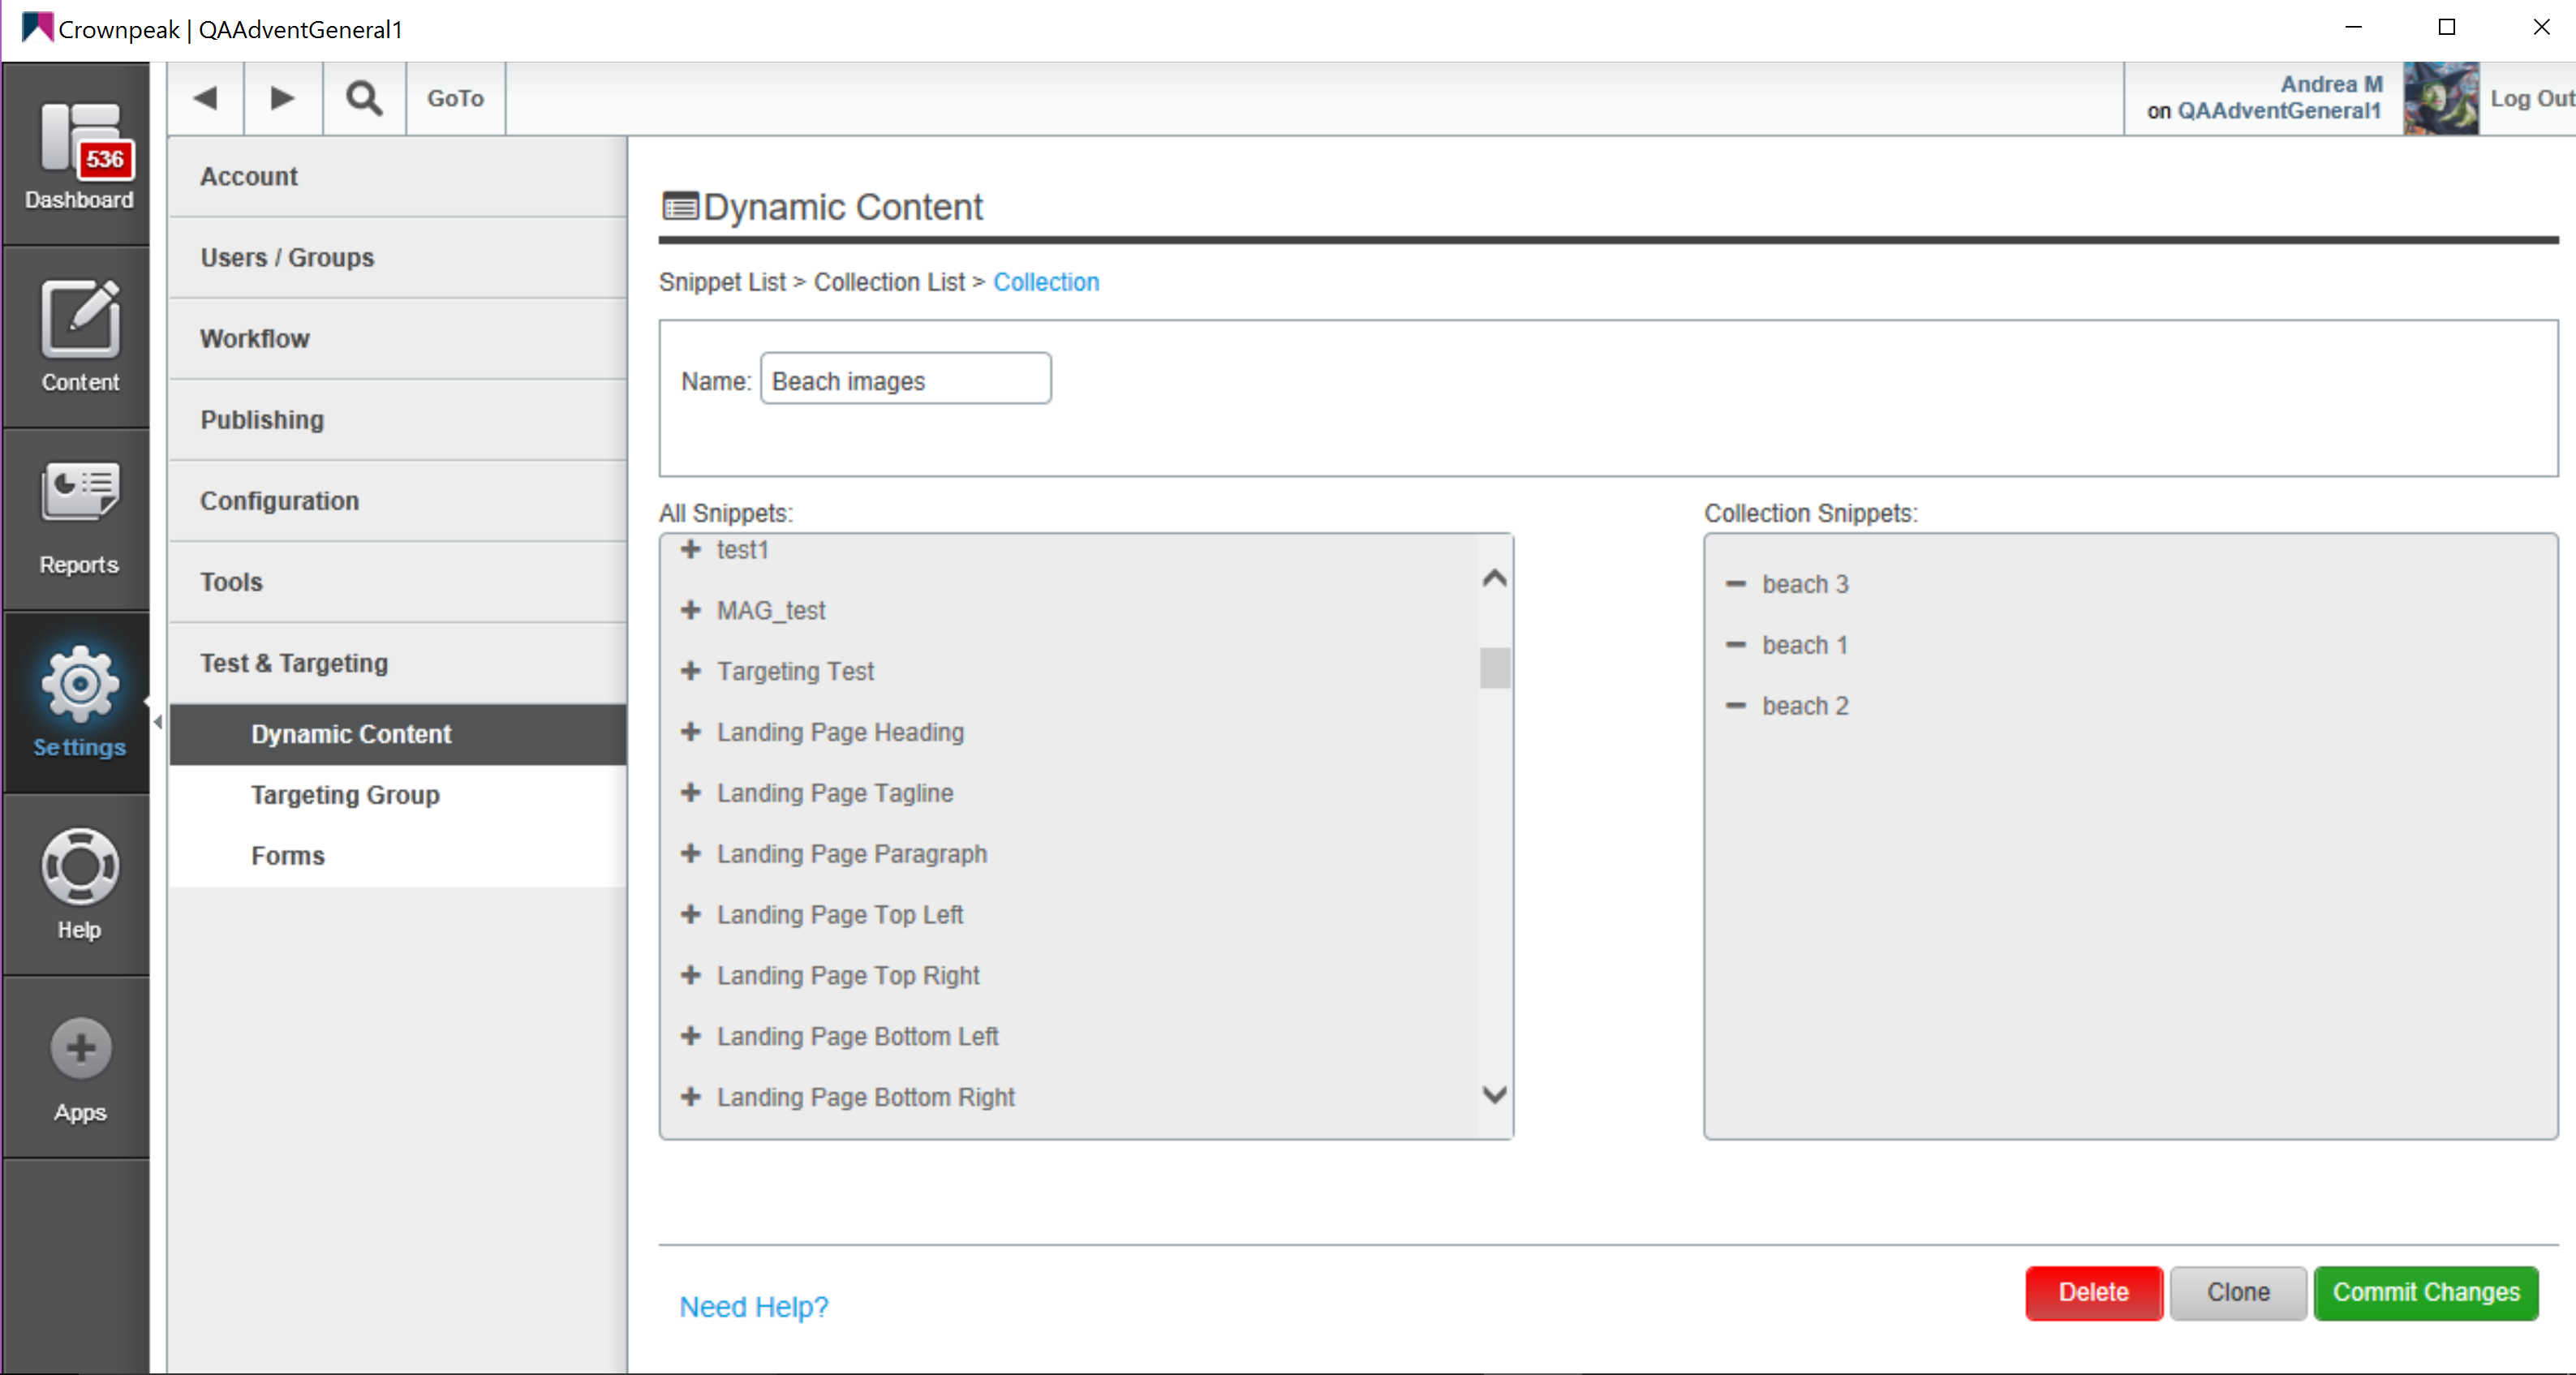
Figure 4 - Collections Edit Page