Overview
The Crownpeak Site Builder allows you to move CMS content and configurations from one CMS instance to another. In addition, Crownpeak will be offering some standard configurations for functionality such as translation management and blogging to help you get started quickly. Site Builder works by allowing your CMS developer to Serialize (save in an XML data file) selected content, templates and configurations from a CMS instance. The same tool can then be used to De-Serialize (read from the data file) that information into a separate instance.
The Site Builder can be used to Extract and Build a site in a CMS instance. When you Extract a site, this extracted site can them be used in the same CMS instance or another instance to build an identical site. The extracted XML file can also be used as a back-up for your current site in case of an issue. Conversely, you can Build a site using the extracted site information.
Note: You must have Site Builder installed on your site, contact Crownpeak Customer Support for installation.
Using the Site Builder to Extract a Site
The Site Builder is a wizard which will walk you through extracting a site from the CMS. Once you have the Site Builder installed you will do the following to Extract your site:
1. In the Site Builder directory, find the Extract Folder. Select [New][Extract Site]
2. Enter a name for your site
3. In the Wizard, select the Site tab (Figure 1)
4. In the drop-down select either a Project or System
5. Enter the required information in the selection boxes (Site Root, Models etc)
- Use the Select buttons for each option to select the desired System/Project folder
6. Check the desired Include Options (Contents, Binary, Attached Binary)
7. Select the Build tab (Figure 2)
8. In the drop-down select Yes
9. Click Save to start the extraction
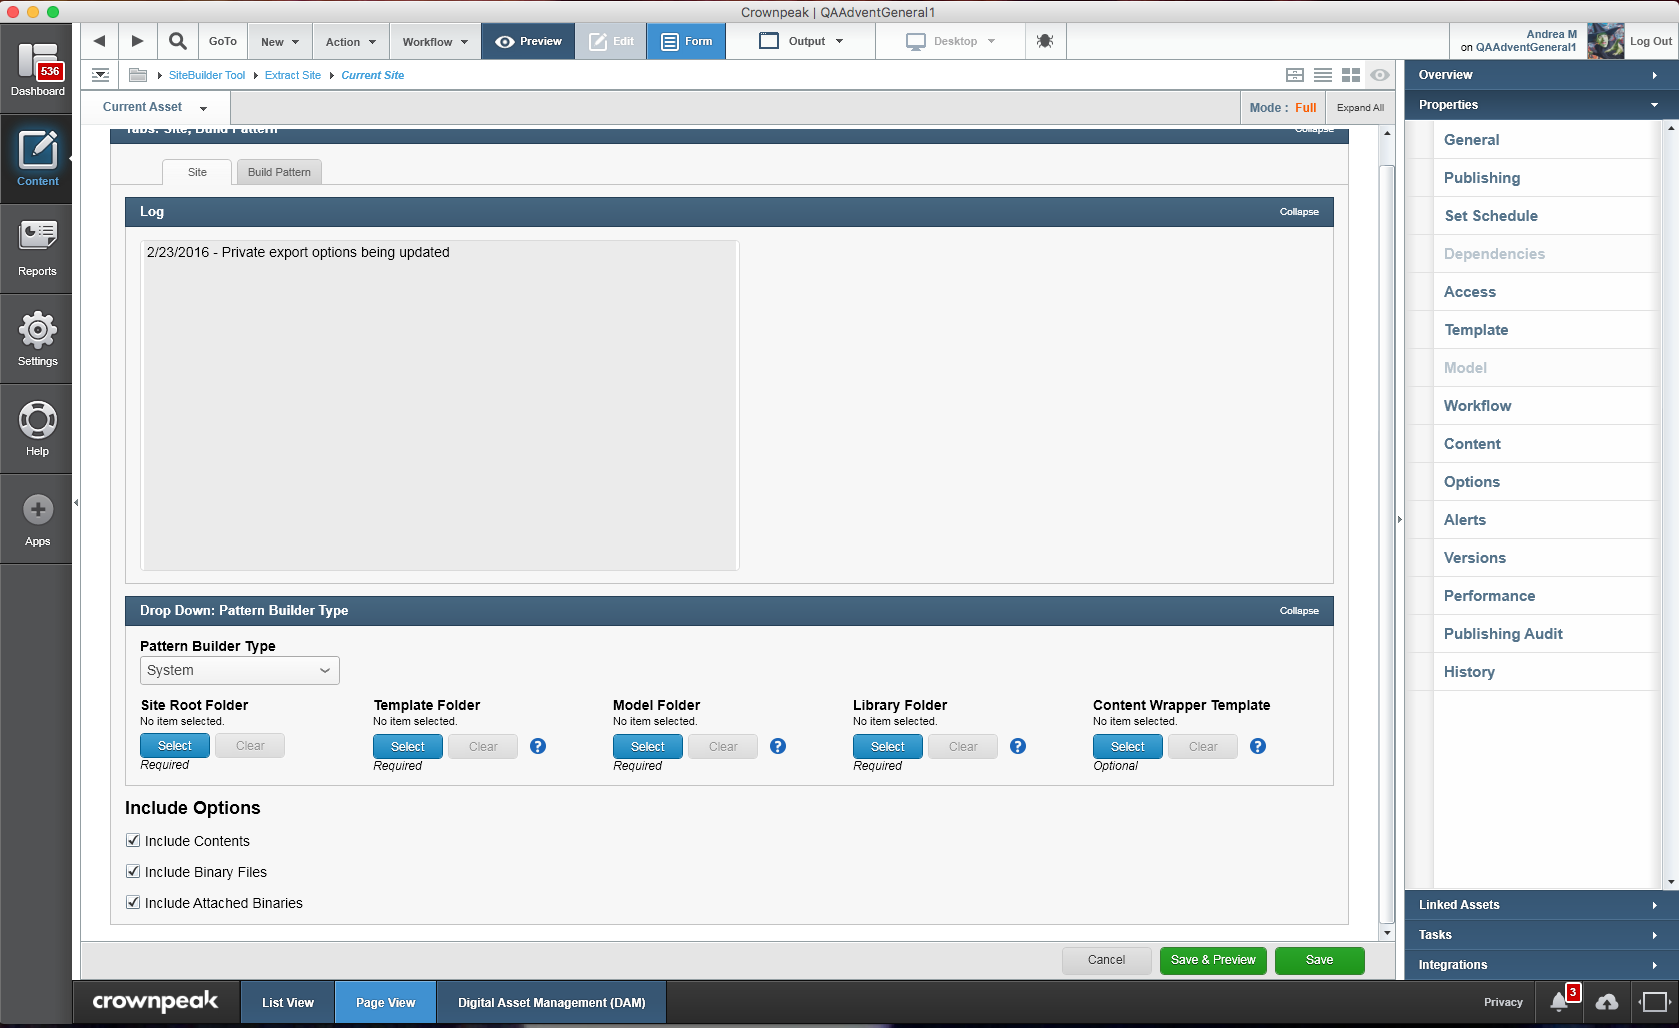
Figure 1 - Site Builder - Extract Site
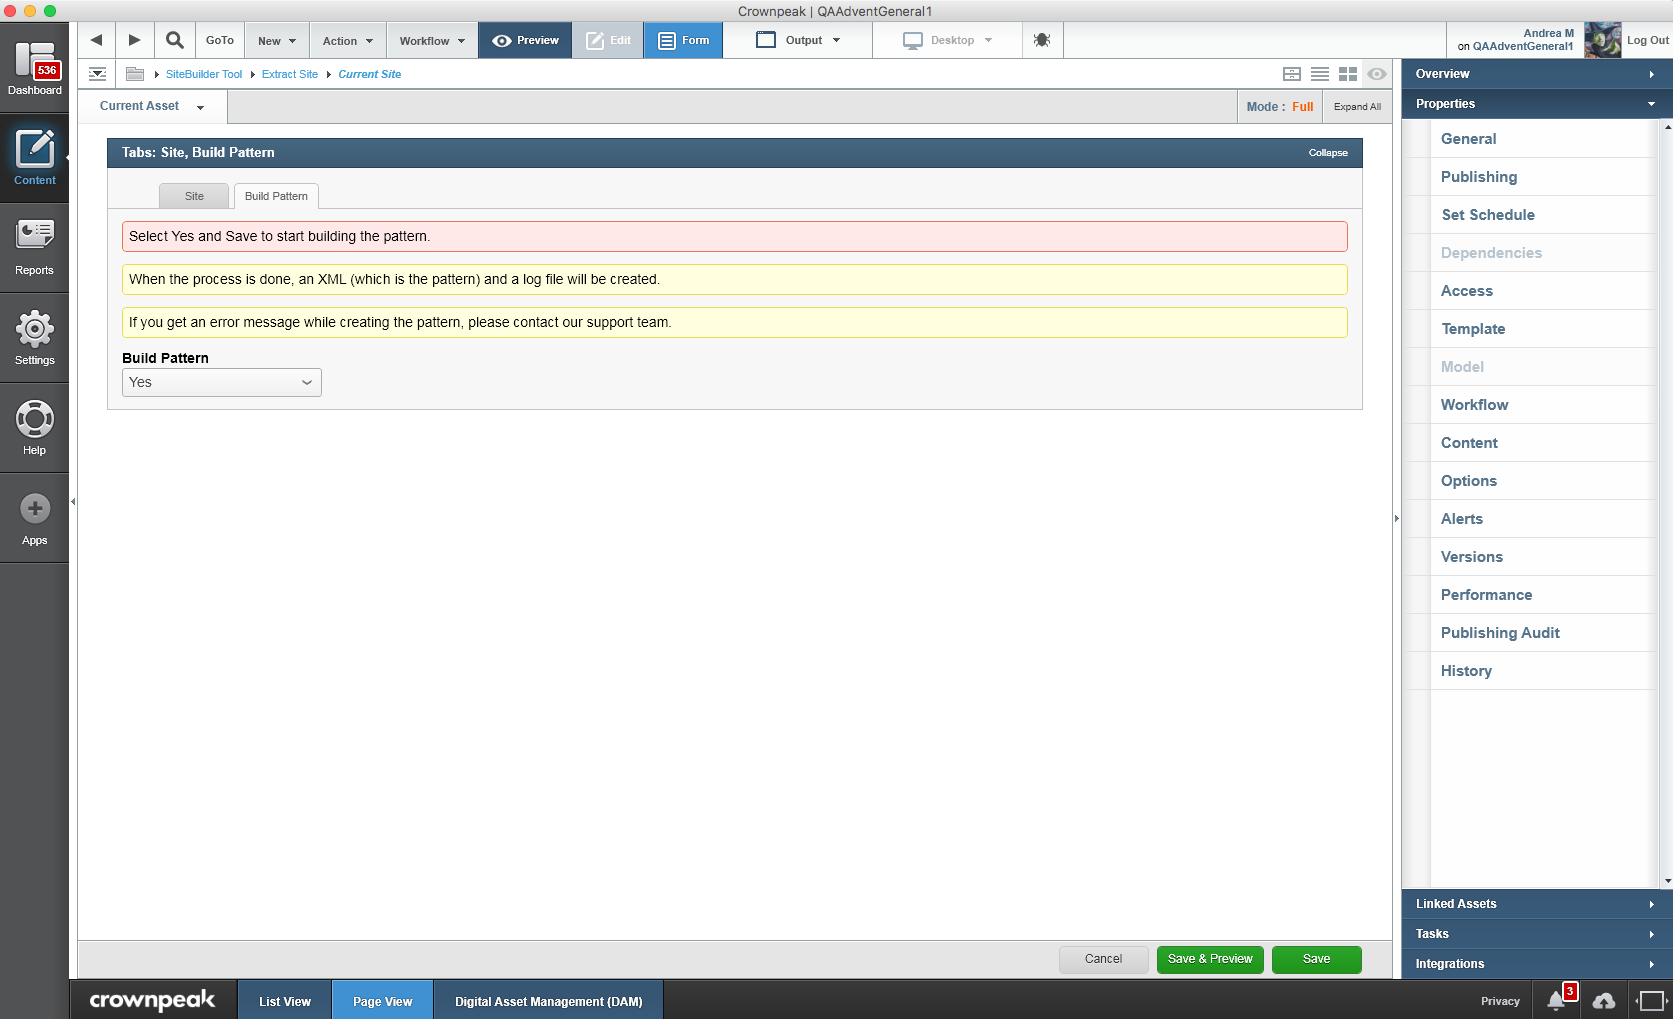
Figure 2 - Site Builder - Extract Build
You can check the progress in your Task Monitor. Once the extraction is complete, in your Extract folder, you should see an XML file associated with your Site Name. (Figure 3)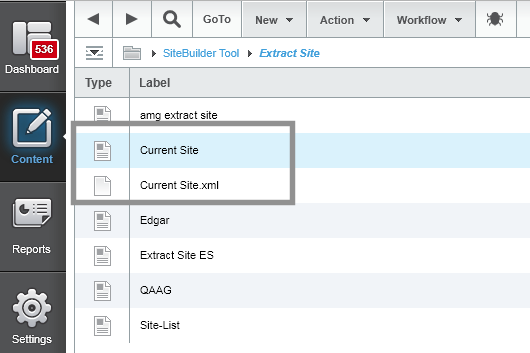
Figure 3 - Site Builder - Extracted Files
Using the Site Builder to Build a Site
The Site Builder can also be used to Build a site. This is expecially handy if you need to create a new site due to re-branding or for additions to your current brand.
To Build a site using the Site Builder follow these steps:
1. In your Site Builder Build Site folder select [New][Build Site]
2. The Build site Wizard will appear (Figure 4)
3. Enter a name for your site in the textbox
4. In the Site Configuration tab (Figure 5)
- Enter the Site Name
- Site Folder
- Select a Site Pattern -> List or Select
- List is a set of provided patterns
- Select allows you to select an XML created from the Site Builder Extract tool
- Workflow - all the workflows in your instance will be available
5. Select the Multi-Site Tab, enter a Multi-Site Family Name and select your Multi-Site Family Type (Figure 6)
6. Choose the Additional Site Features tab and select any applicable options
7. Click Save and Preview
8. In the Preview window, the Site Builder Summary will be displayed
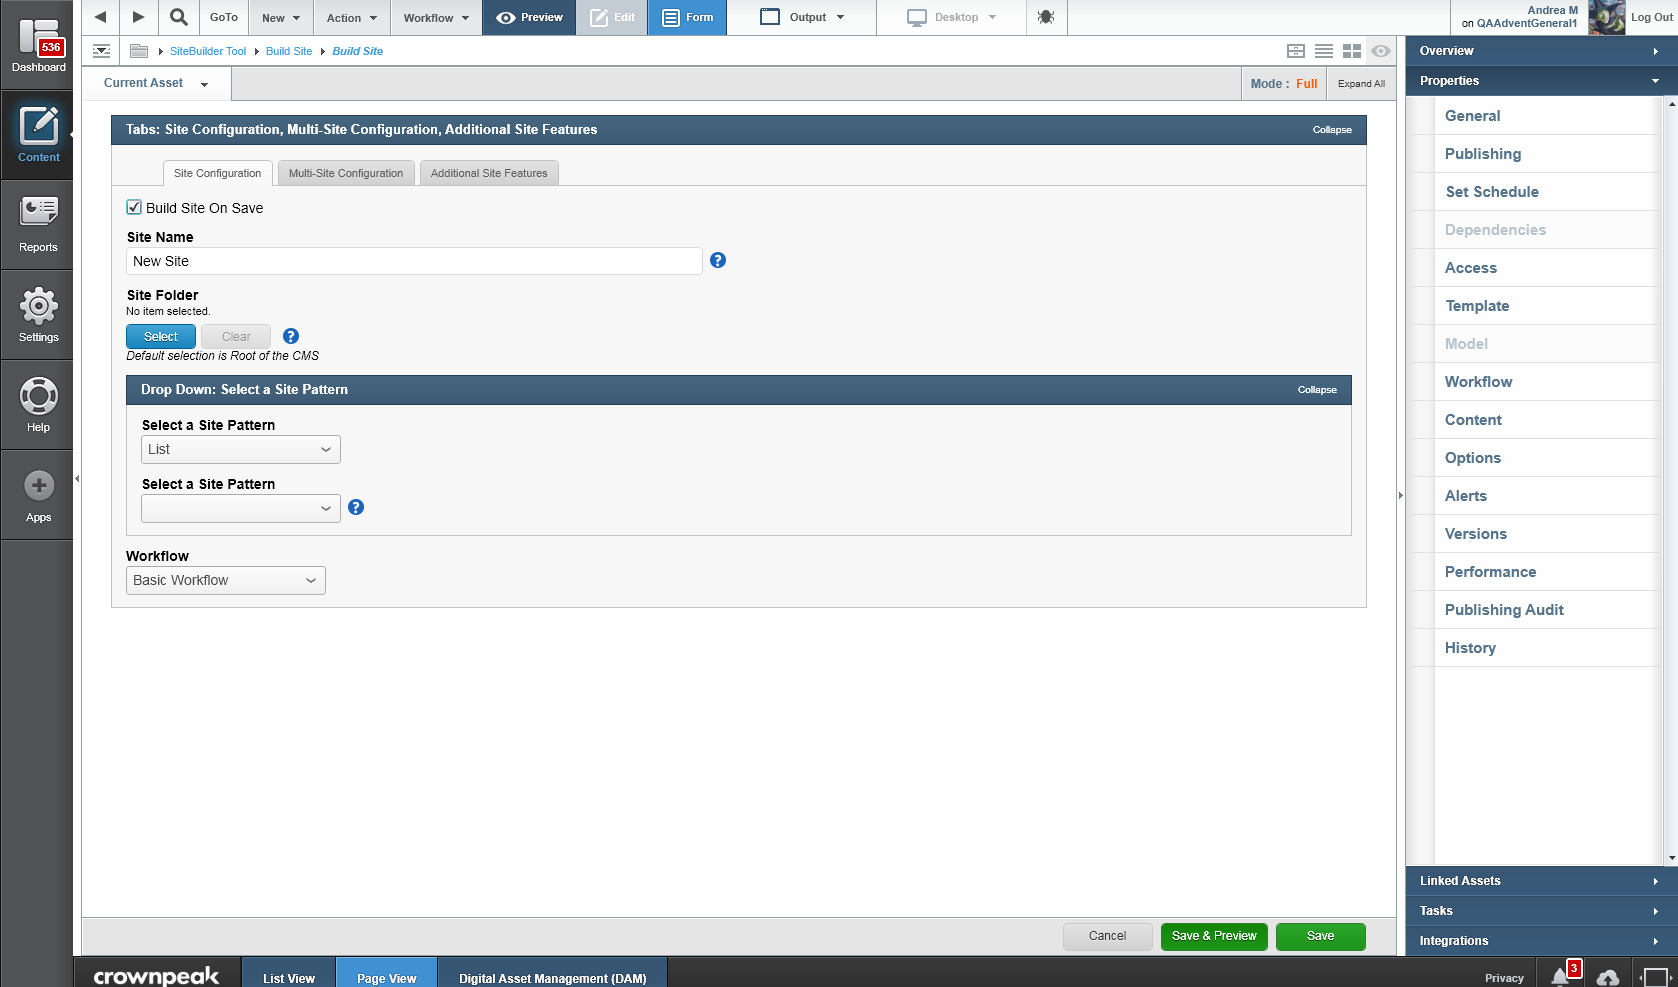
Figure 4 - Site Builder - Build Site Configuraton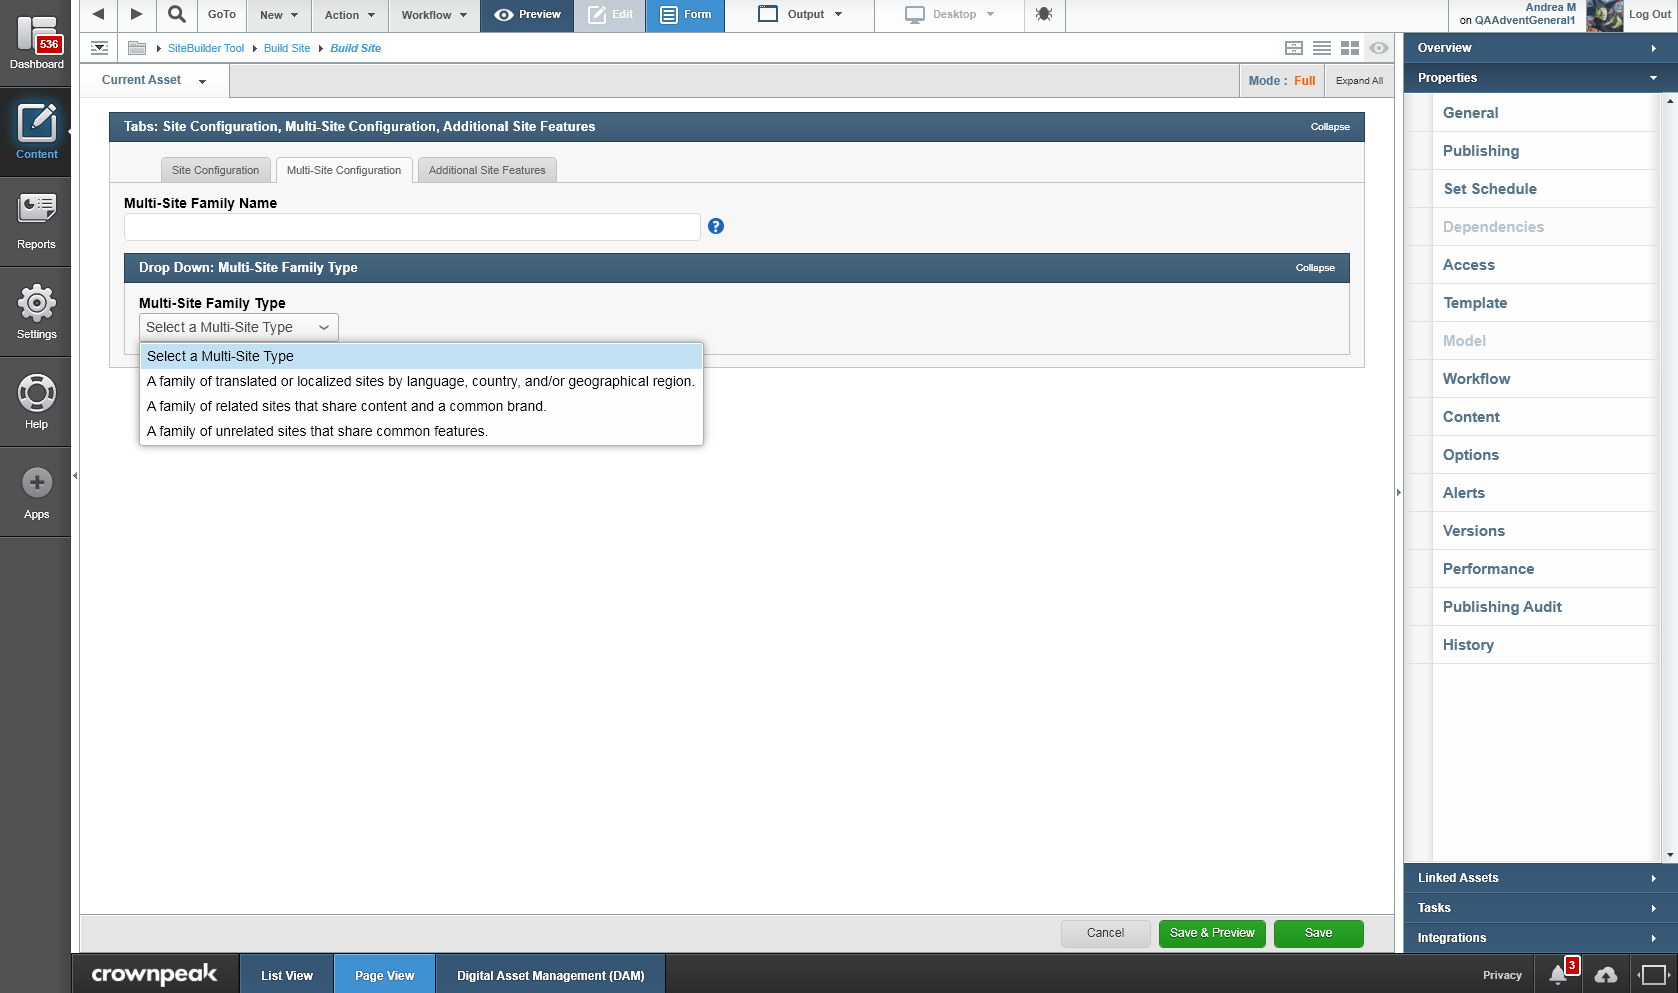
Figure 5 - Site Builder - Multi-Site Configuration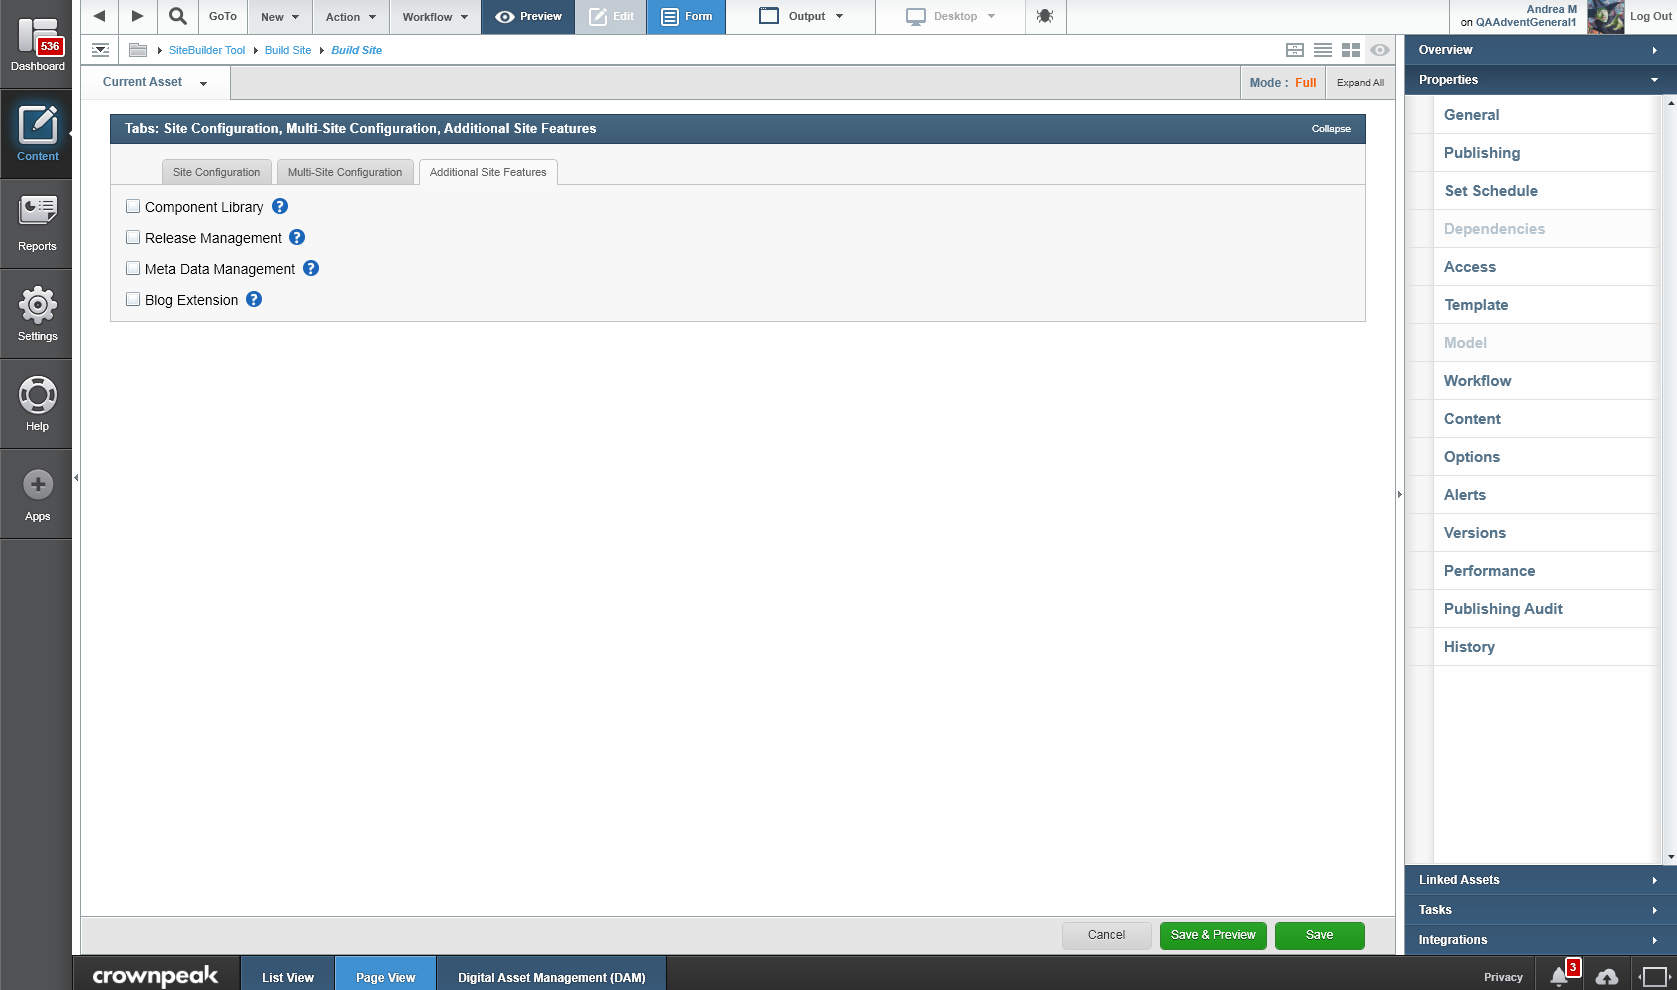
Figure 6 - Site Builder - Additional Site Features