Overview
CrownPeak offers a fully-managed Database service for existing users of the Content Management System (CMS). Prior to this release of the CMS, you were required to submit Customer Service tickets for any updates to your DaaS service, such as reconfiguration of tables, columns or views, and/or data update. These tickets would be executed by CrownPeak on your behalf and the results returned to you via normal customer service channels. The DaaS updates in this release provide you with self-service capability so that you can perform these same functions yourself via a console embedded within the main CMS content authoring environment.
The CrownPeak Database as a Service (DaaS) is a fully-managed, highly-available relational database management platform, based on either Microsoft SQL Server or Oracle MySQL and provided on an annual subscription basis. For more details, please refer to the official Data Sheet, located here.
Configuring your Database
Self-service access to your DaaS environment requires the following three steps:
• Provision your DaaS Host(s) in your CMS instance
• Define DaaS Connections
• Access your DaaS via the CMS DaaS Console
Provision DaaS Hosts
This one-time step creates the definitions in your CMS instances that describe the DaaS environments included with your CMS subscription. You will use these DaaS Host definitions when building DaaS Connections. To provision your DaaS Hosts, please send a request to CrownPeak Customer Support (support@crownpeak.com).
Define DaaS Connections
Once your DaaS Hosts have been provisioned, you can create the DaaS Connections you need to access your DaaS. You may define as many DaaS Connections as you need to cover the range or database users and databases you have defined in your DaaS environment. However, each DaaS Connection name must be unique.
To create a DaaS Connection, use the following steps:
1. Navigate to [Settings][Configuration][DaaS Connections]
2. Press the [Add DaaS Connection] button at the bottom of the page (Figure 1)
3. Enter the required information and click [Save]
4. The DaaS Connection will appear in your list (Figure 2)
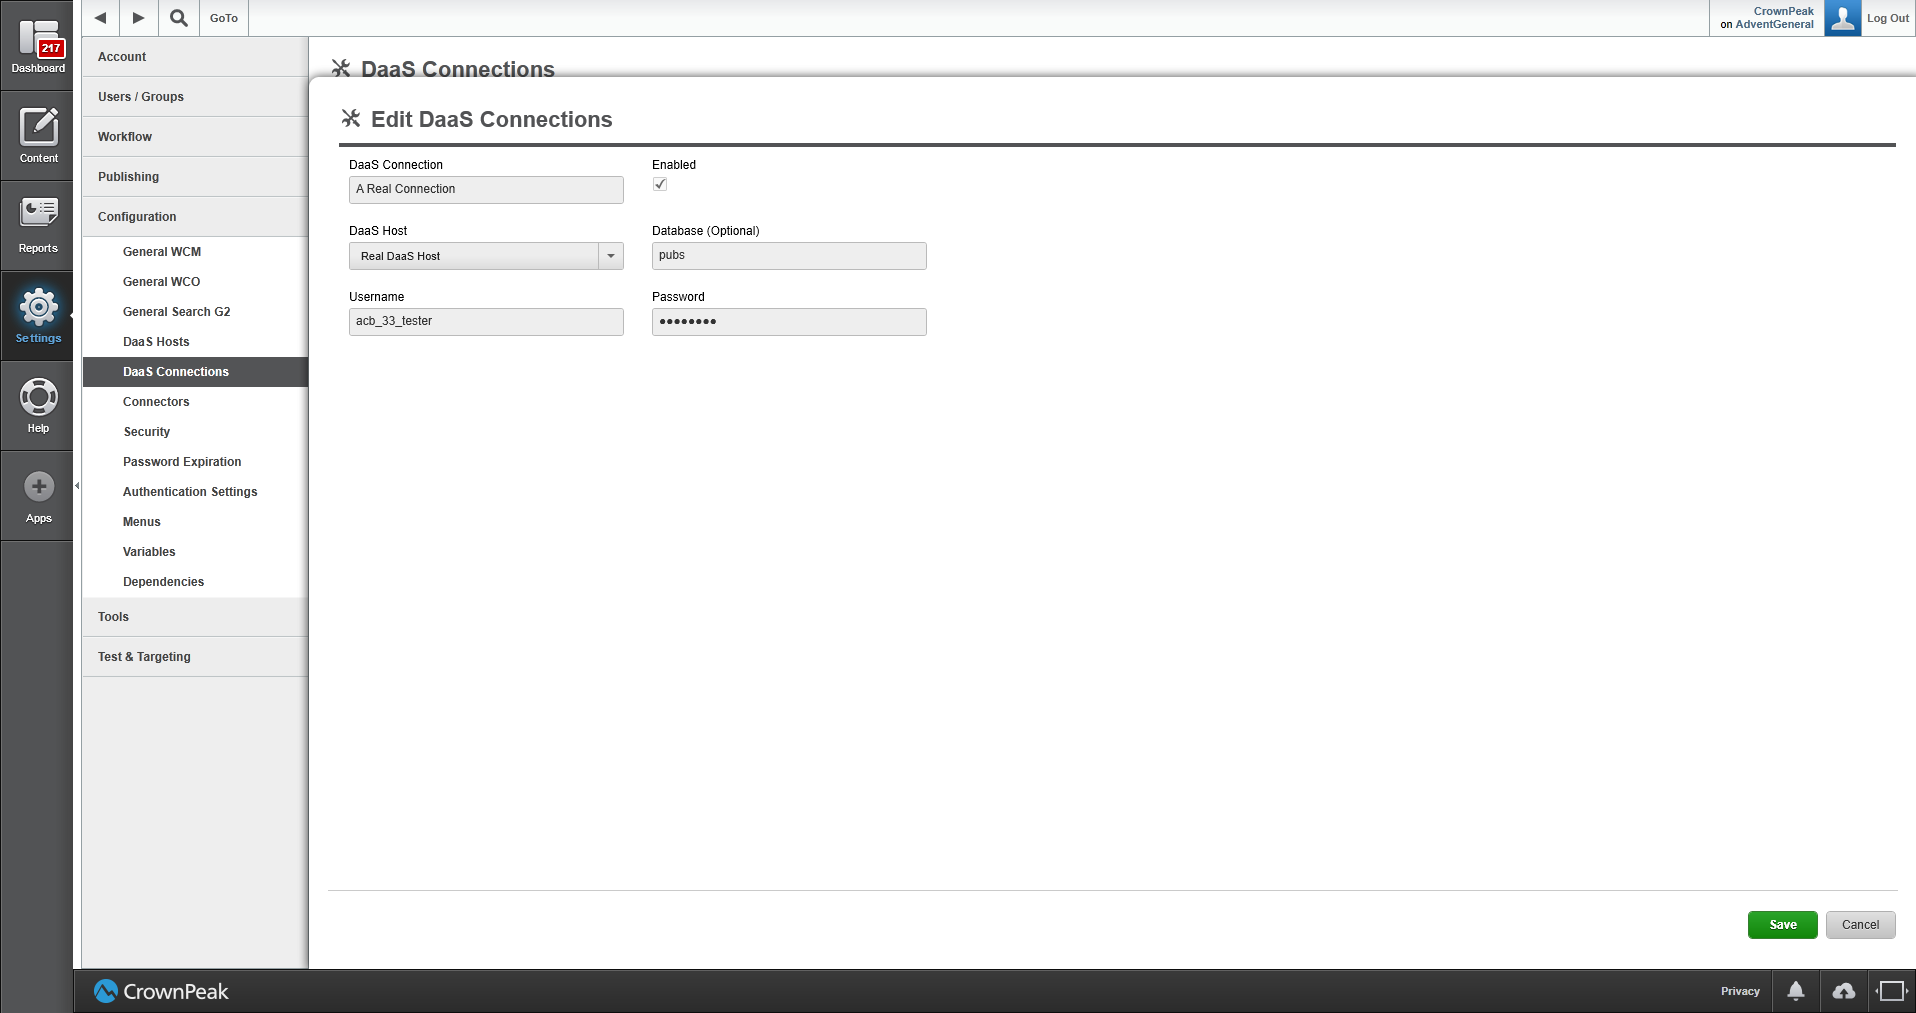 Figure 1 - DaaS Connection Edit Panel
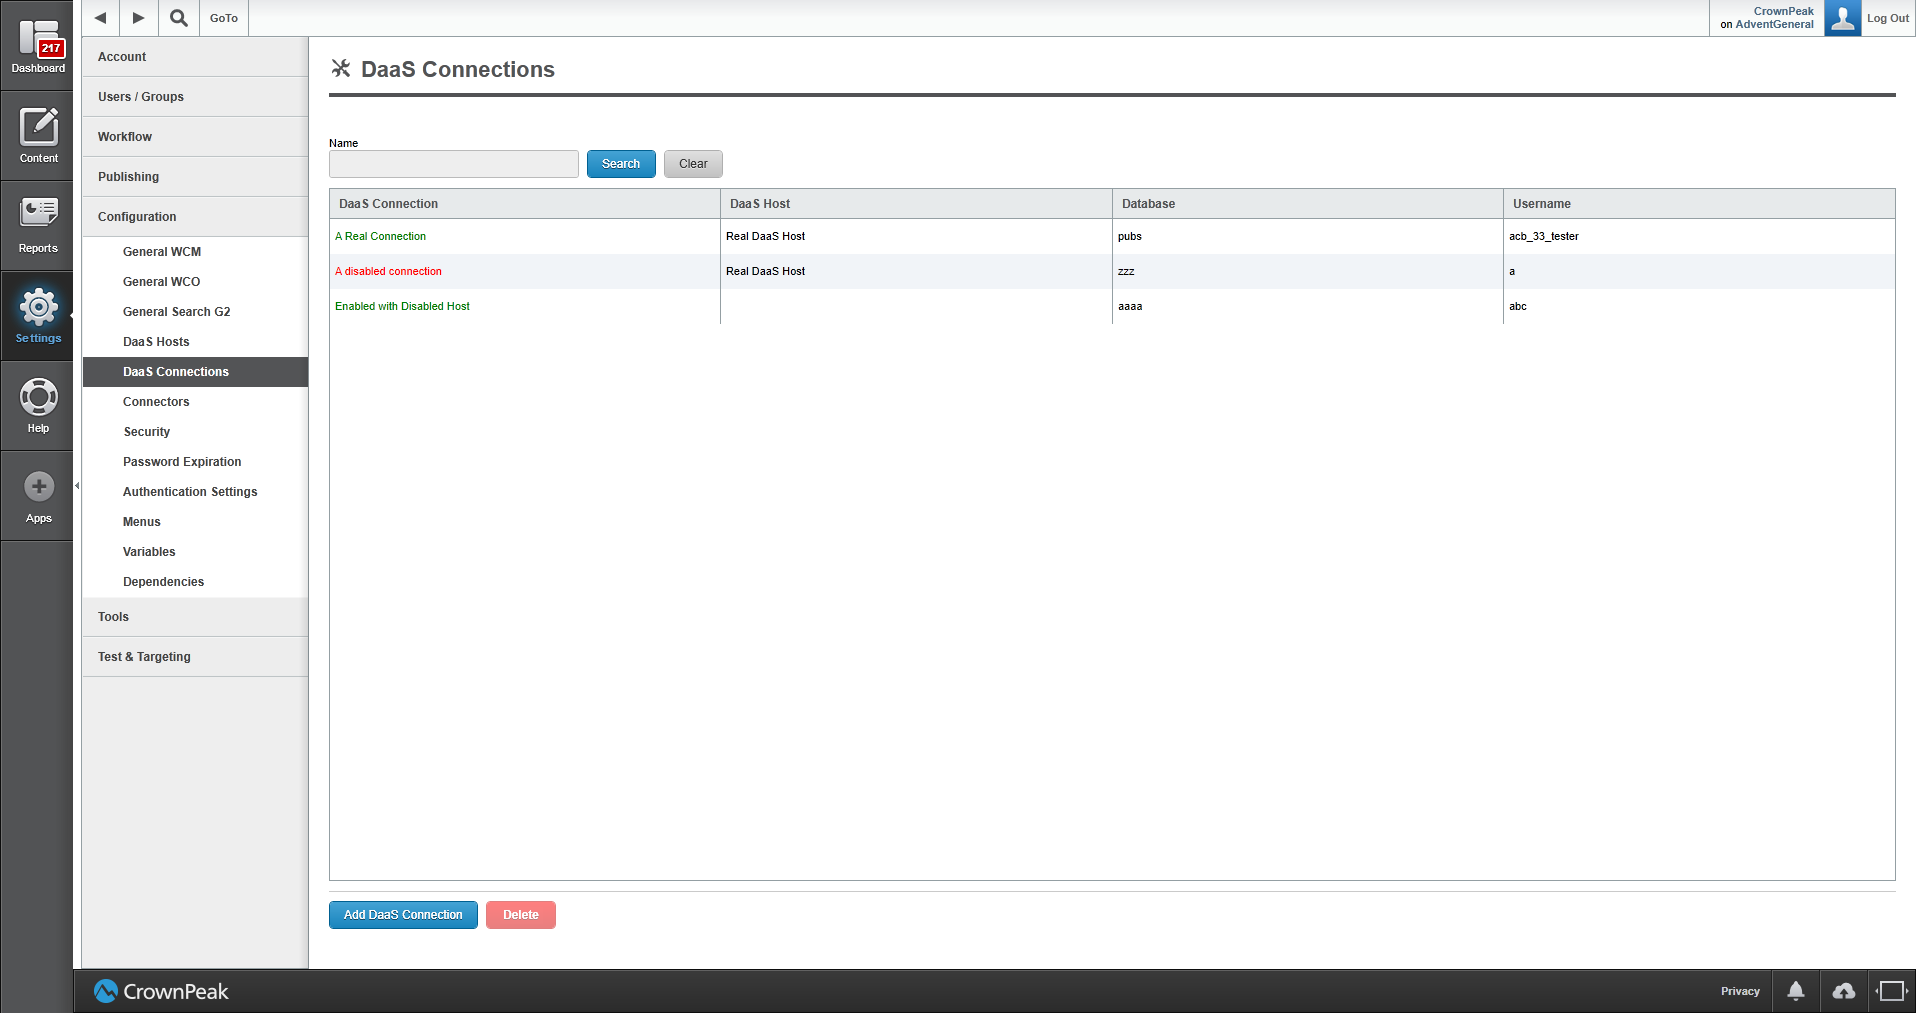
Figure 2 - DaaS Connection Main Panel
Access the DaaS Console
Once you have configured your DaaS Connection(s), you can use the DaaS Console to query your database. To use the DaaS console, choose a DaaS Connection and then type (or paste) in your query.
Note: Only specific users can access this feature.
You can perform the query in two separate ways: synchronous or asynchronous. A synchronous query should be run for short queries (less than 2 minutes). The query results will be displayed in the results window almost immediately. For longer queries, the asynchronous option should be used. This query will display a progress monitor in the results window until it has completed.
To use the DaaS Console, perform the following:
1. Navigate to [Settings][Tools][DaaS Console]
2. Select the [DaaS Connection]
3. Select Synchronous if desired
4. Enter the SQL Query statement and click [Execute] (Figure 3)
5. Optional: Save the query results by clicking [Save Results]
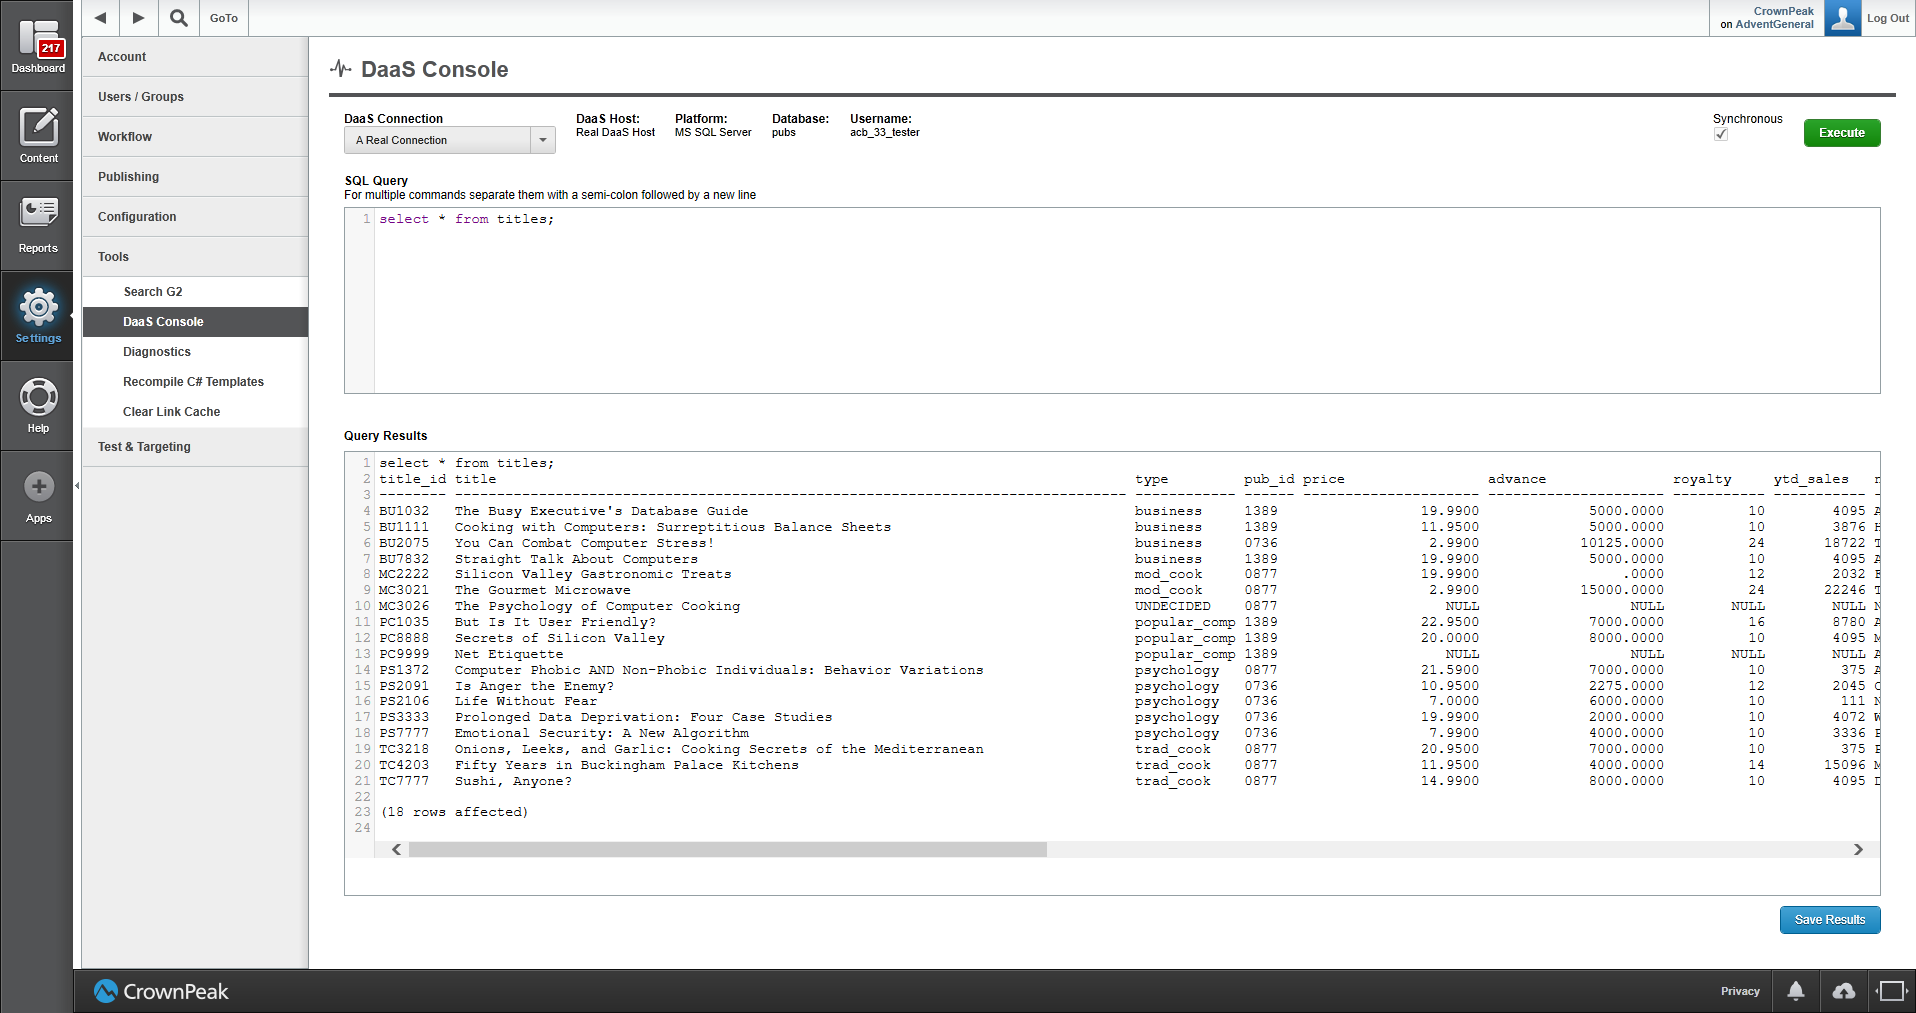
Figure 3 - DaaS Console