Overview
HubSpot offers marketing automation software including inbound marketing, SEO blogging and social media tools. The CrownPeak integration provides users with direct access to lead data generated from CrownPeak hosted forms. Look for this integration on the CMS Dashboard and in the Web Content Optimizer (WCO) Targeting Groups.
Using a combination of Web Content Optimizer (WCO) and HubSpot, data entered into forms on CrownPeak web pages can be viewed on the Dashboard. Simply follow these steps to get started:
1. Log into your HubSpot account and locate your Hub ID (Figure 1)
![]()
Figure 1 - Hub ID
2. In Volte create a new Connector by clicking [Settings][Configuration][Connectors][Add Account][HubSpot]
3. Copy your ID into the textbox (Figure 2)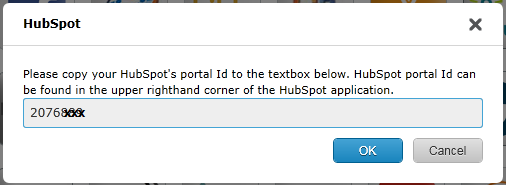
Figure 2 - Hub ID
4. Follow the link to get your HubSpot API key (Note: You will need to create an API Key if you do not have one for your account)
5. Enter your HubSpot API key into the textbox (Figure 3)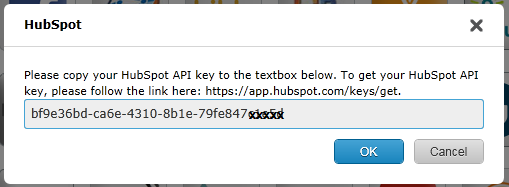
Figure 3- HubSpot API key
6. Click Authorize to allow CrownPeak to access your HubSpot account
7. Copy the token into the textbox (Figure 4)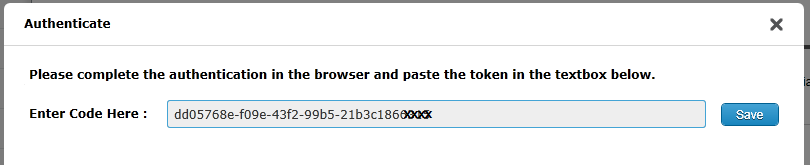
Figure 4 - HubSpot Token
8. Name the Connector.
9. Add the HubSpot widget by navigating to [Dashboard][Add Widget][HubSpot]
10. Select the Filter list to view the leads sent to HubSpot over the last 7, 14, 30, and 90 days. (Figure 5)
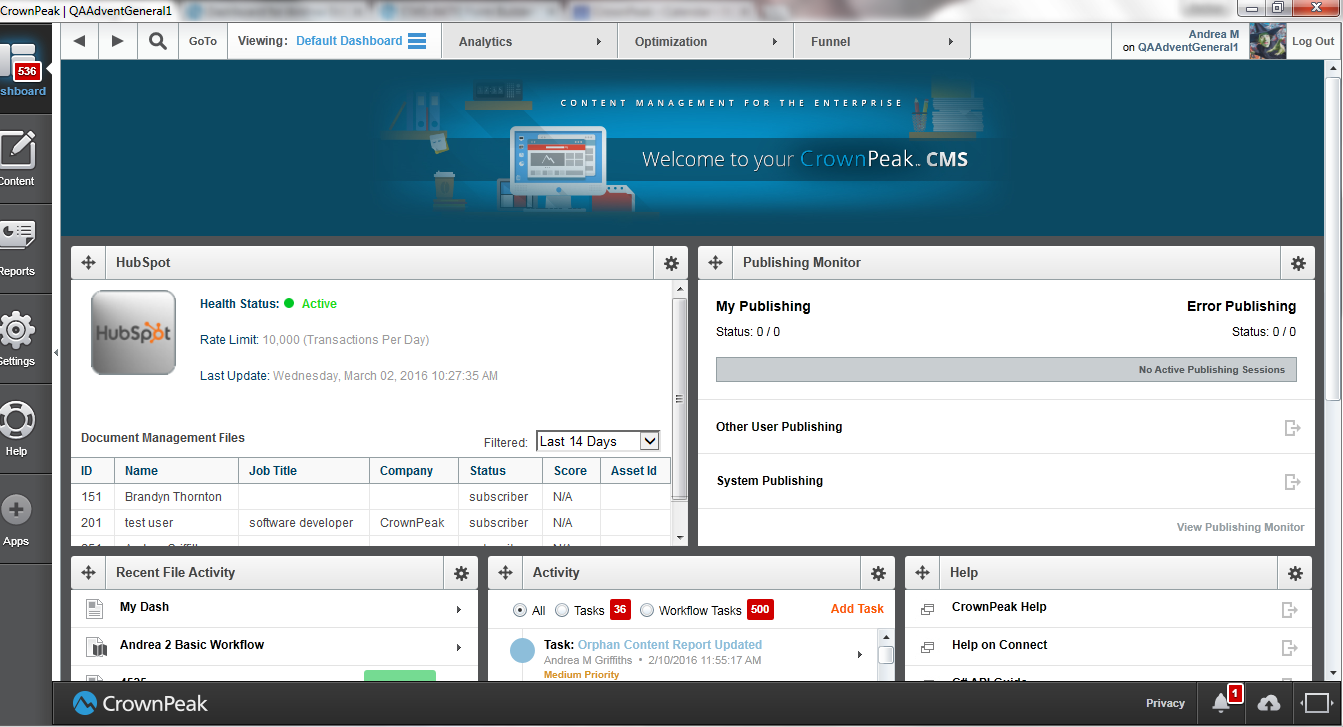
Figure 5 - HubSpot on Dashboard
HubSpot and Targeting Groups
To add HubSpot to a WCO Targeting Group, use the following steps:
1. Launch the Targeting Groups interface (via Edit, Edit Form, Preview or Settings)
2. To create a new targeting group, select the [New Group] button
3. To edit an existing targeting group, click the [Edit] link next to one of the pre-existing targeting groups in the table
4. The WCO Drag & Drop Targeting Group window will appear
5. Enter a name in the [Group Name] field at the top of the page
6. Optional: Add an image for the Targeting Group
7. Select custom [New] rule types
8. Drag HubSpot into the targeting group
9. Click [Edit] and enter the rule criteria
10. Save the Targeting Group by clicking the [Save] button
The Group Saved Message will appear and the Targeting Group is ready to use within a WCO form (Figure 6)
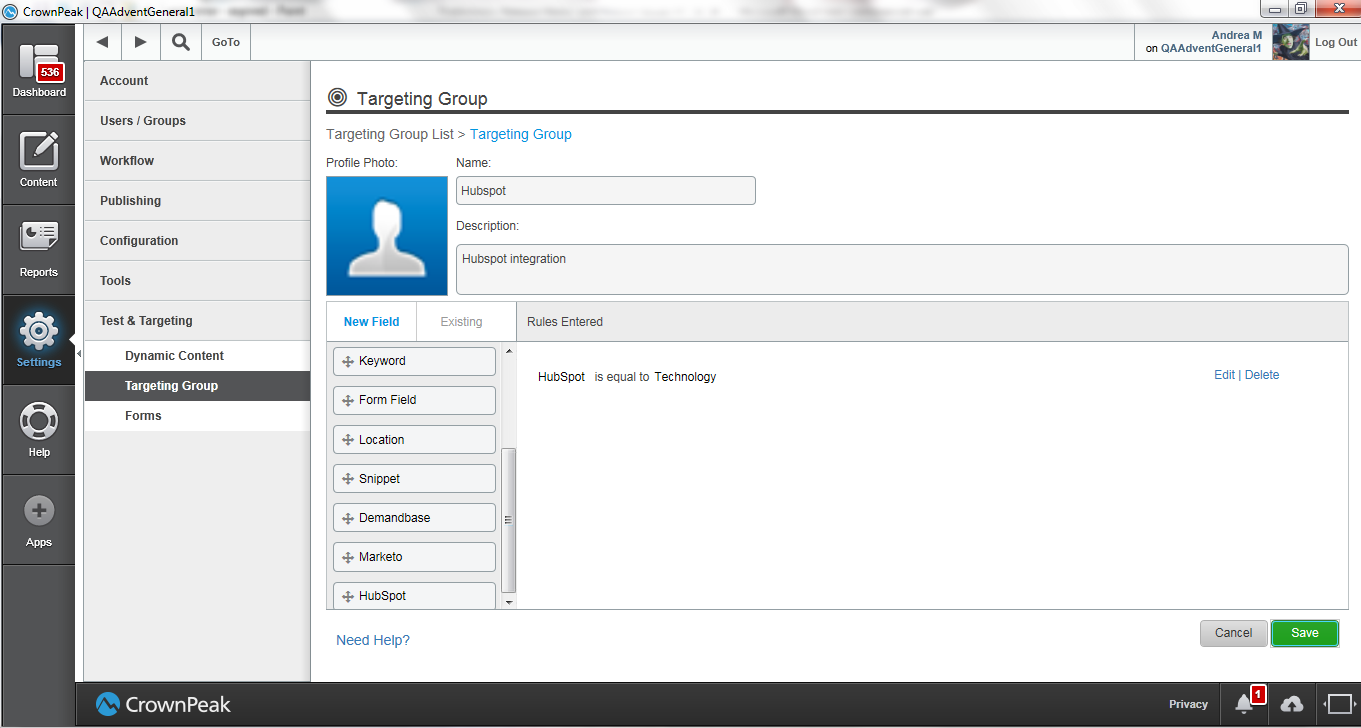
Figure 6 - HubSpot Targeting Group
Using WCO to add information to HubSpot
WCO needs two connectors for the HubSpot roundtrip integration: one that is built into WCO and used solely for targeting, and the other is a custom connector which is used for form processing. These connectors respectively are: HubSpot API and HubSpot. This section describes creating the HubSpot connector in WCO for form use.
Using HubSpot as a targeting group is explained in the next section, if you need assistance in creating WCO forms and targeting group set-up, please check the Best Practices pages for WCO Form Builder and/or WCO Targeting Groups.
Find a HubSpot Portal and Form ID
You find the Form GUID in the HubSpot UI.
Navigate to Contacts > Forms from the navigation menu > click to edit a specific form > when editing a specific form, you can find the Form GUID in the URL.
In the URL https://app.hubspot.com/forms/62515/78c2891f-ebdd-44c0-bd94-15c012bbbfbf/edit/,
1. The form GUID is 78c2891f-ebdd-44c0-bd94-15c012bbbfbf
2. The portal ID is 62515
Determine the POST URL
POST https://forms.hubspot.com/uploads/form/v2/:portal_id/:form_guid
Replace
1. :portal_id with the appropriate values.
2. :form_guid with the appropriate values.
Add the WCO Connector screen
In order to form the conenction between HubSpot and WCO in the forms and targeting groups, you must create the WCO Connector.
1. Open WCO using the Apps option in Volte
2. Navigate to [Settings][Global Settings][Manage Connectors][HubSpot]
3. Enter the Name, URL and Configuration Fields (Figure 7)
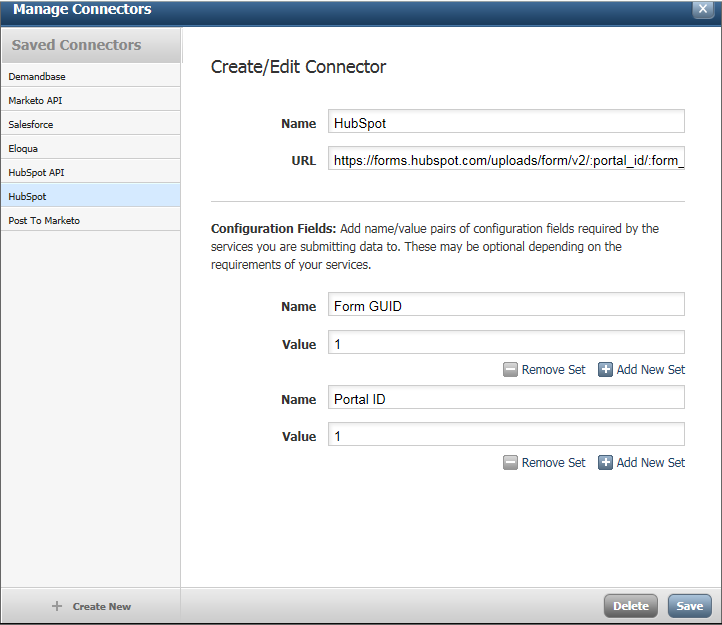
Figure 7 - WCO HubSpot Connector
Decide Which Fields to POST
You can include any HubSpot Contact fields in your form submission. Field names created in a WCO form must match the field names in HubSpot to ensure a successful submission.
A complete list of field names HupSpot is expecting can be found in the HupSpot admin. Please note: field names are case sensitive.
In addition to the fields you want to submit there are recommended fields:
Recommended fields on the form:
1. assetId – this field is used to associate the contact with the asset it came from in the CMS.
Example: <input name=”assetId” value=”{id} />
HubSpot in Targeting Groups
Creating the HubSpot API Connector
This is a built-in connector and only requires the apiKey
1. Open WCO using the Apps option in Volte
2. Navigate to [Settings][Global Settings][Manage Connectors][HubSpot API]
3. Enter the apiKey value (Figure 8)
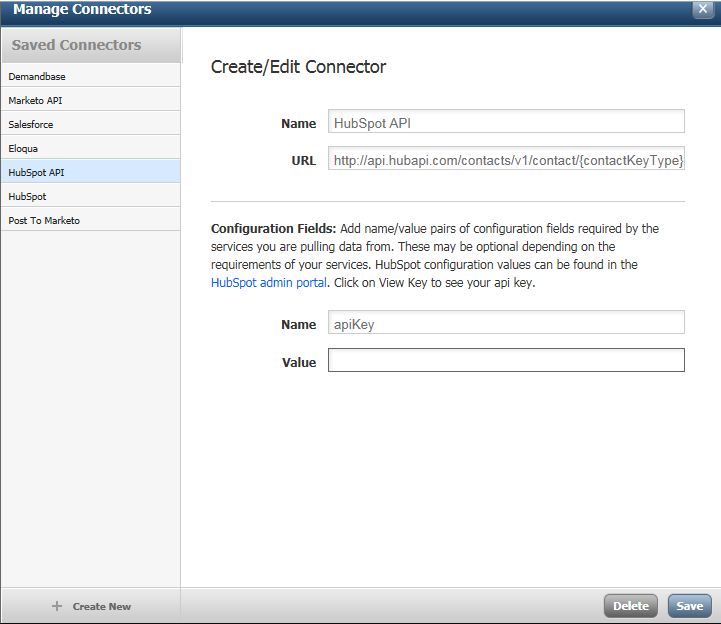
Figure - 8 HubSpot API Connector
The connector is now added and HubSpot can now be used in the Targeting Groups.
Note: There is a HubSpot API request cap, this would include requests from the CMS Dashboard + WCO requests
Total requests to the HubSpot APIs should not exceed 10,000 in a 24 hour period.
Targeting Group Rule Configuration:
The easiest way to target your users in HubSpot is by email address. We also support Visitor ID and HubSpot cookie.
Targeting Group Usage:
You can use the targeting group to send out a specific form to users, however, the more interesting use is for a form to retrieve the email address into a WCO field and then use that in conjunction with a Rule to target content at specific users or specific groups of users. Once you have a targeting group created you can attach it to a targeting variant using the WCO control in an asset's input form.
HubSpot Placeholders in Variant Content:
You can also attach your HubSpot targeting group to a Variant and use placeholders in the content to extract data from HubSpot.
Example: I subscribe to an email newsletter via WCO Form. My email address is saved in a field called "email_address". I can then have a Targeting Group configured with the Rule "HubSpot firstname is not null" that uses the Contact Key Type: Email Address and Contact Key Value: email_address. I attach that to my WCO Targeting Variant. The Snippet would be included on the page that I redirect to after form submission. The content of my Targeting Variant would be "Thanks $VARS[hubspot_firstname] for subscribing!" which would populate the first name from a HubSpot contact with matching email address into the page.