Overview
[Note: This article applies to searching for content while authoring in the CMS. For Web Site Search for your site, the CrownPeak Search and Search G2 articles are more applicable.]
Two Kinds of Searching Within the CMS
In the CMS, there are two Search options. Quick Search is a full search of your content. The results, however, can easily overwhelm you with too many returned items. Advanced Search solves this problem by allowing you to to narrow your results to things like specific assets, published dates and/or users who last edited files. You can use the Advanced Search feature to search using any combination of fields and criteria. By refining your search parameters you can be sure the custom reports will include the data you desire instantaneously.
Building Reports
When an Advanced Search returns the desired results, you can save the criteria for later use and view the data using the Custom Report option.
The Advanced Search and custom reporting can be valuable tools for all members of your organization. Searches can be set-up for multiple members of your organization; authors looking for their current Draft work, marketers trying to find the latest blog posts, developers interested in assets using specific templates and admins tracking Live pages. Here are some sample searches which may be useful to your organization:
| Persona | Name | Search Parameters |
| Author | My Draft Assets | [CreatedBy] Equals {username}And [Status] Equals Draft |
| Author | My Recently Published Assets | [PublishDate] Equals "9/15/2015" And [CreatedBy] Equals {username} |
| Marketer | Recent Blog Posts | [Template] Equals "blog template" and [Status] Equals "Live" and [PublishDate] GreaterThan "9/15/2015" |
| Developer | Assets using Product Template | [Template] Equals "Product" |
| Admin | Latest Published Assets | [PublishDate] GreaterThan "9/1/2015" And [Status] Equals "Live" |
When using the Advanced Search you will search on the Search Field, Comparison (equals, not equal, greater than, greater or equal, less than, less than or equal) and the Value. Each Search field will allow you to select the Comparison and the Value. The following lists a short description of the Search Field along with the parameters. Multiple parameters must be joined using the Boolean Join options "AND" or "OR".
| Field Name | Definition | Value Type |
| BranchId | Branched Assets Id | Numerical |
| ChangeDate | Date asset was changed | Calendar Date |
| ChangedBy | User who last changed the asset | User drop-down list |
| CheckedOutBy | User who checked out the asset | User drop-down list |
| CheckedOutDate | Date asset was checked out | Calendar Date |
| CreateDate | Date asset was created | Calendar Date |
| CreatedFromModel | Assets created from the chosen model | Model drop-down list |
| FolderId | Folder Id | Numerical |
| Id | Asset Id | Numerical |
| Label | Asset label | Alpha-numeric entry |
| LastPublishedBy | User who last published the asset | User drop-down list |
| LastStatusBy | User who moved the asset to the current status | User drop-down list |
| Model | Available models | Model drop-down list |
| ModifiedBy | User who last modified the asset | User drop-down list |
| ModifiedDate | Date the asset was last modified | Calendar Date |
| PublishDate | Date the asset was last published | Calendar Date |
| ShortCutId | Shortcut Id | Numerical |
| Status | Asset status, for example: Draft, Stage, Live | Status drop-down list |
| StatusDate | Date the asset was moved to the status | Calendar Date |
| Template | Template used for assets | Template drop-down list |
| Type | Asset type | File or Folder drop-down |
| Workflow | Workflow attached to the asset | Workflow drop-down list |
Note: The Id parameters for an asset can be viewed under the Asset General Properties
Creating an Advanced Search
Creating advanced searches within the CMS can be very useful for compiling data you wish to review on a regular basis. Once an Advanced Search is created, the report can be viewed in the Advanced Search window or under the new My Custom Reports tab.
To create the Advanced Search report, use the following steps:
1. Click the magnifying glass to open the Search window
2. Click [Advanced] to display the advanced search options
3. Enter your search criteria (Figure 1)
4. Optional: Click [Search] to review the results
5. Click [Save as Report] and enter a report name (Figure 2)
6. The saved report name will appear in the drop-down (Figure 3)
Note: Reports can be deleted on this page by selecting the report name in the drop-down and clicking the [Delete] button (Figure 4) 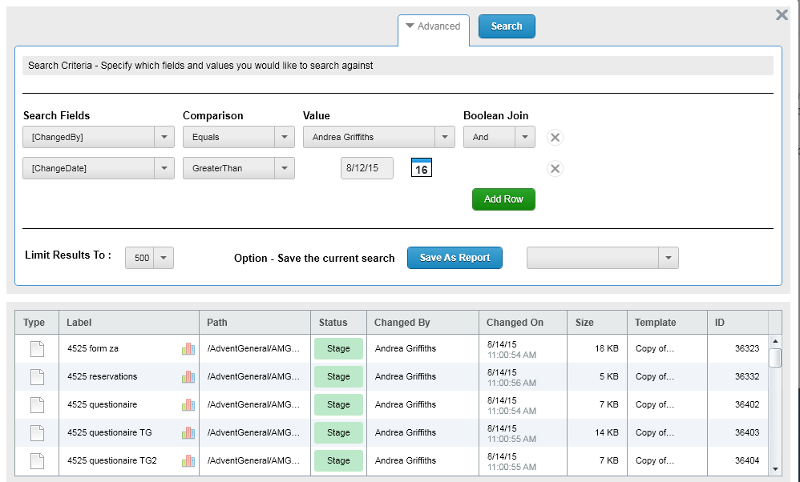
Figure 1. Advanced Search Criteria
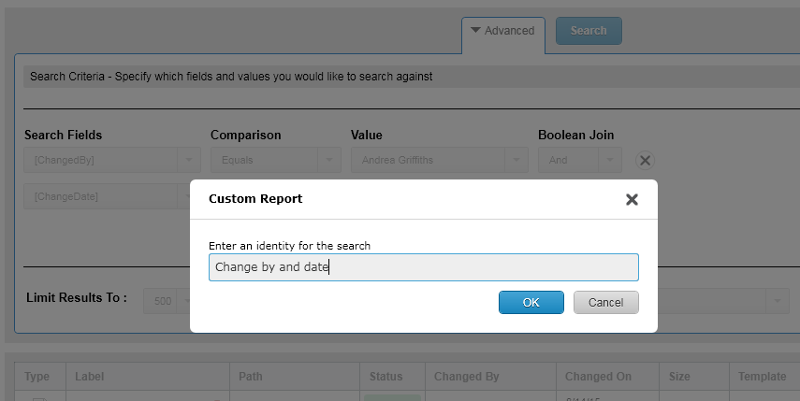
Figure 2. Advanced Search Report Name
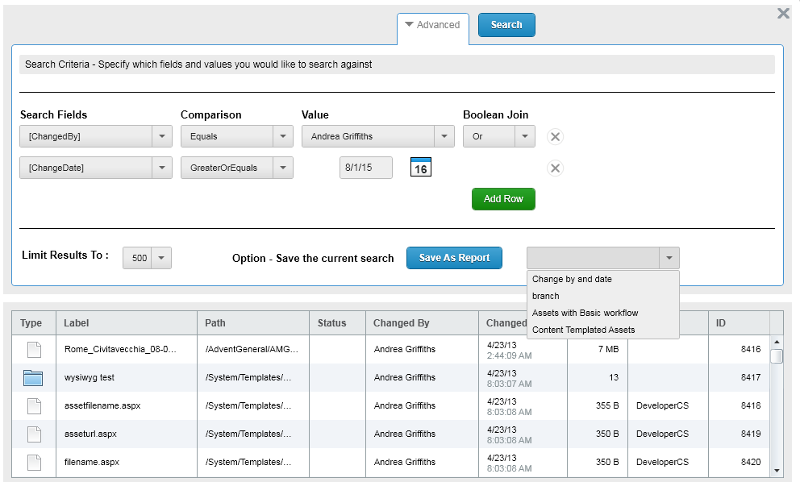
Figure 3. Advanced Search Saved Report List
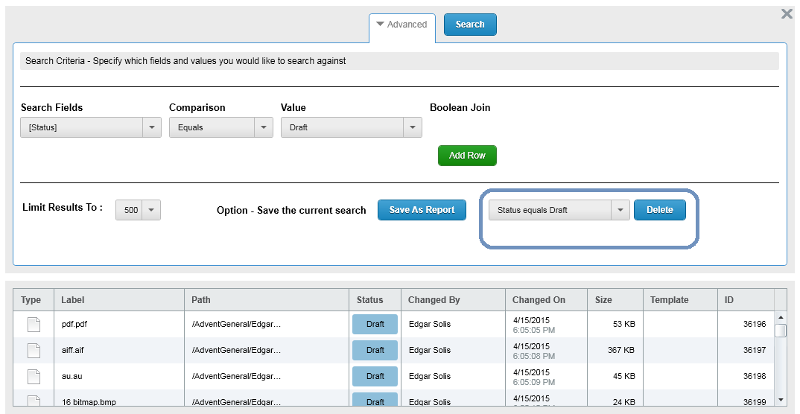
Figure 4. Advanced Search Delete Report Option
Viewing the Custom Report
There are two ways to view the Advanced Search report via the Search window or through the Custom Reports section of the CMS.
To view the search results in the Search window use the following steps:
1. Click the magnifying glass to open the Search window
2. Choose the report from the drop-down in the middle of the page
When accessing the report through the Search window, only a small portion of the results can be viewed. The entirety of the data can be seen by using the scroll bars. For searches will large amounts of data observing the results through the Custom Report option is recommended.
To view the saved search report, use the following steps:
1. From the Reports section select My Custom Reports
2. Choose the report from the list (Figure 5)
3. Optional: Reports viewed here can be downloaded as a CSV file (Figure 6)
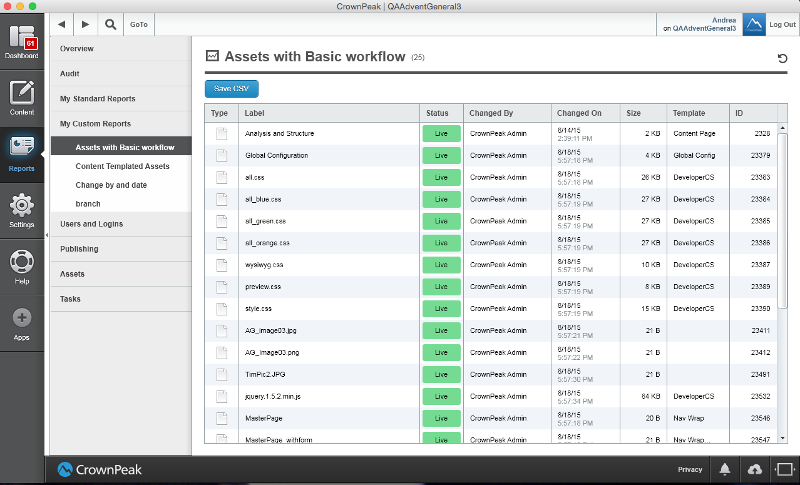
Figure 5. My Custom Reports Advanced Search Report List
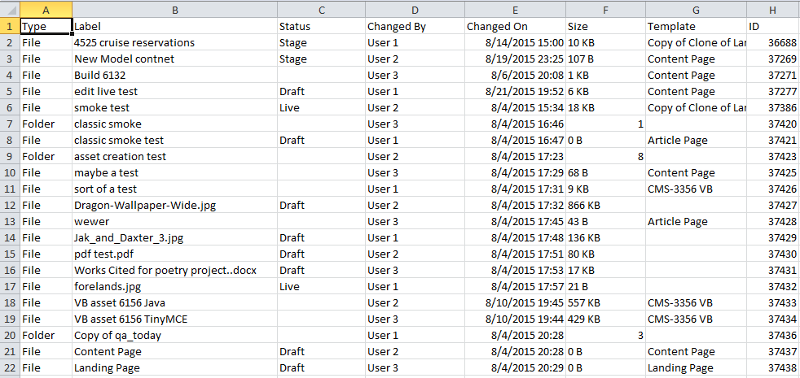
Figure 6. Custom Report Sample CSV file