Overview
Project Merge is a powerful feature that allows developers to merge their code at the Project Branch level. A project merge is simply the combination of the two project branches. Once the branch is created, you can edit the branched templates or library code. These changes are independent from the original branch. Note: Post Merge, you must recompile your Project.
The process of merging branches can be as simple as a five step process.
1. The user selects the source code branch and the destination code branch
2. The user sees a list of files that have changed or are different between the two branches. This will include new files
that have been added
3. The user will select each file one at a time and view a side by side comparison of the file. The code comparison
utility will highlight the line numbers and the differences. The user will review each change and select the version
that they want to merge into the destination code branch. The user will also have the option to accept / merge all of
the changes to the destination code branch as one group selection.
4. The user will see a summary list of all the required merge changes and be offer to "Commit" these changes, go
"Back" to the previous step, or "Cancel" the merge process.
5. The last page provides a log report of the changes for the users review. The changes will also be available as a
separate report in the Reporting section.
Note: Project Merge is only available in Volte.
Project Merge Process
To merge project, you will take a branched project and merge it into another branched project. The branch you Merge Into contains the main components of the new branch. When you merge branches, a new branch will be created which must be recompiled.
To perform the Project Merge, use the following steps:
1. Select the branch you wish to merge
2. Right-click and select [Merge Into]
3. In the list, select the branch you wish to merge into (Figure 1)
4. Once you have selected your branches, the Merge Branches panel will open. The branches you selected will be displayed in the window.
You have the option of using the drop-down to change your selections if desired (Figure 2)
5. Once you have confirmed the selected branches, the Merge Branches window will open. The window will display all the files which will be
taken from the first branch and merged into the second branch. At this time you have the option to: (Figure 3)
a. Include or not include a file
b. Use the Action drop-down to Use Destination, Use Source, Manual, Remove or Skip a file.
6. The merged branch name will default to: Merge of {branch name}, you may update the name in the text box provided
Note: If there are no changes to be made when performing the merge, a message will appear above the table and the [Commit Merge] button will not be active.
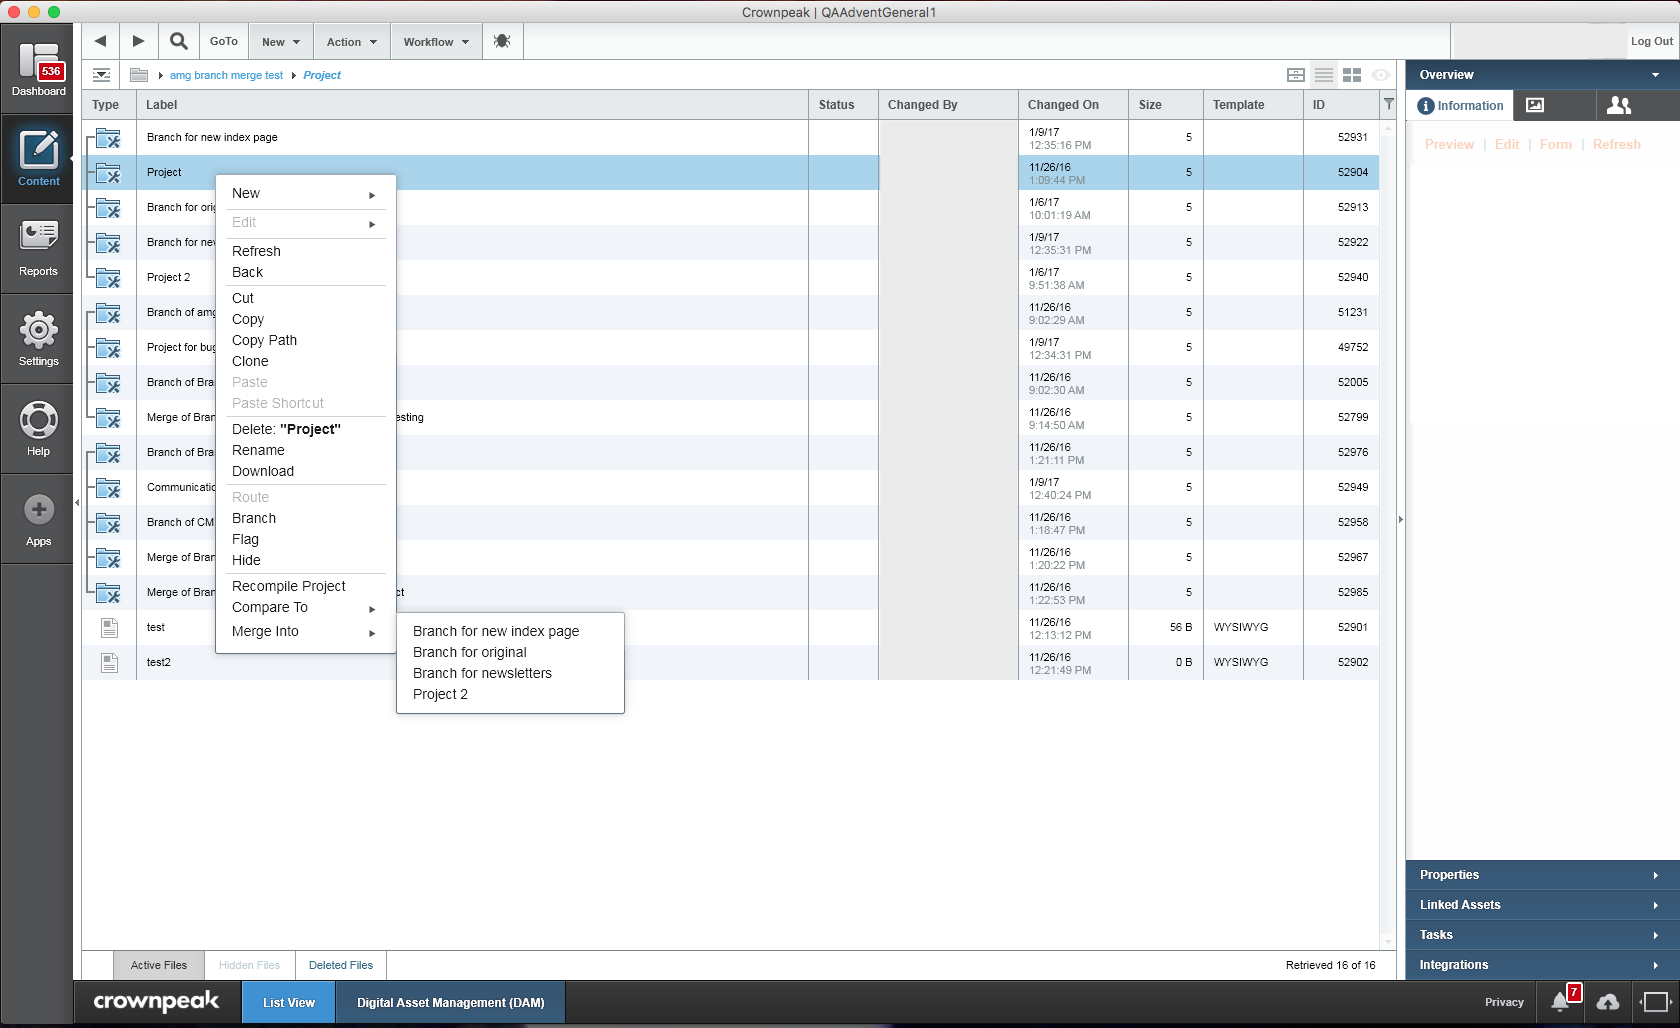 Figure 1 - Merge Options
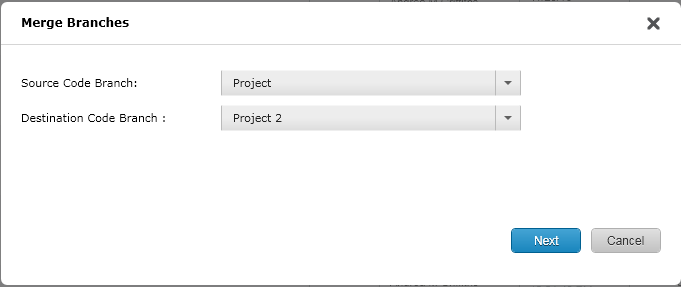
Figure 2 - Merge Branches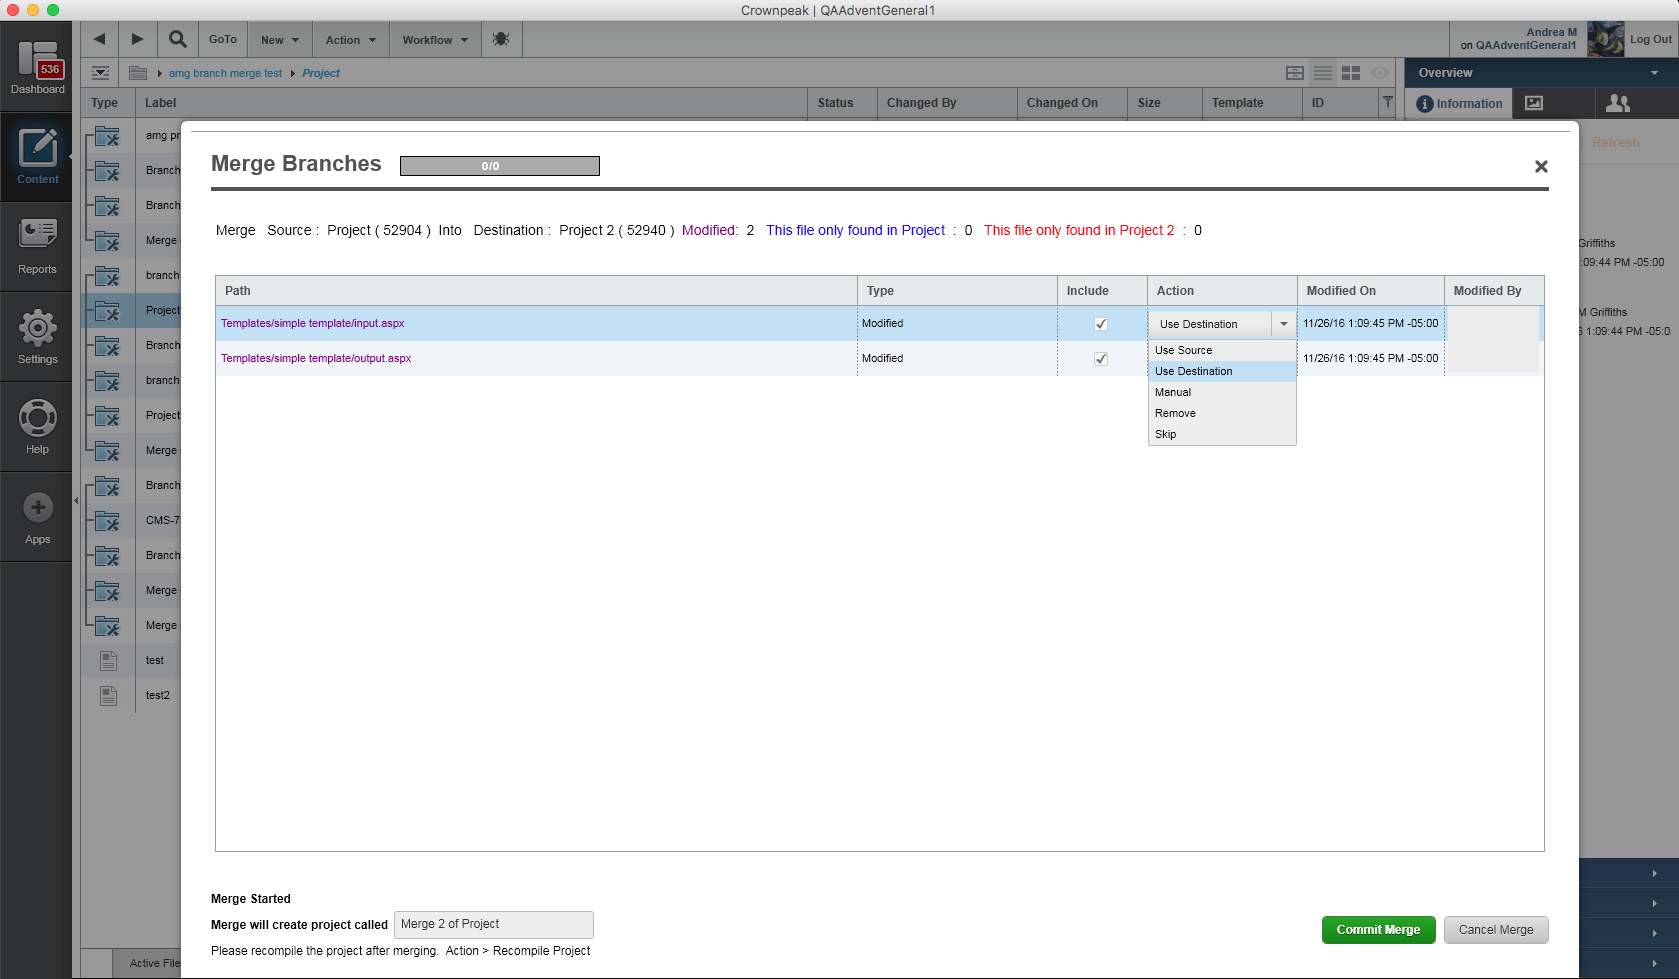 Figure 3 - Merge Branch Window